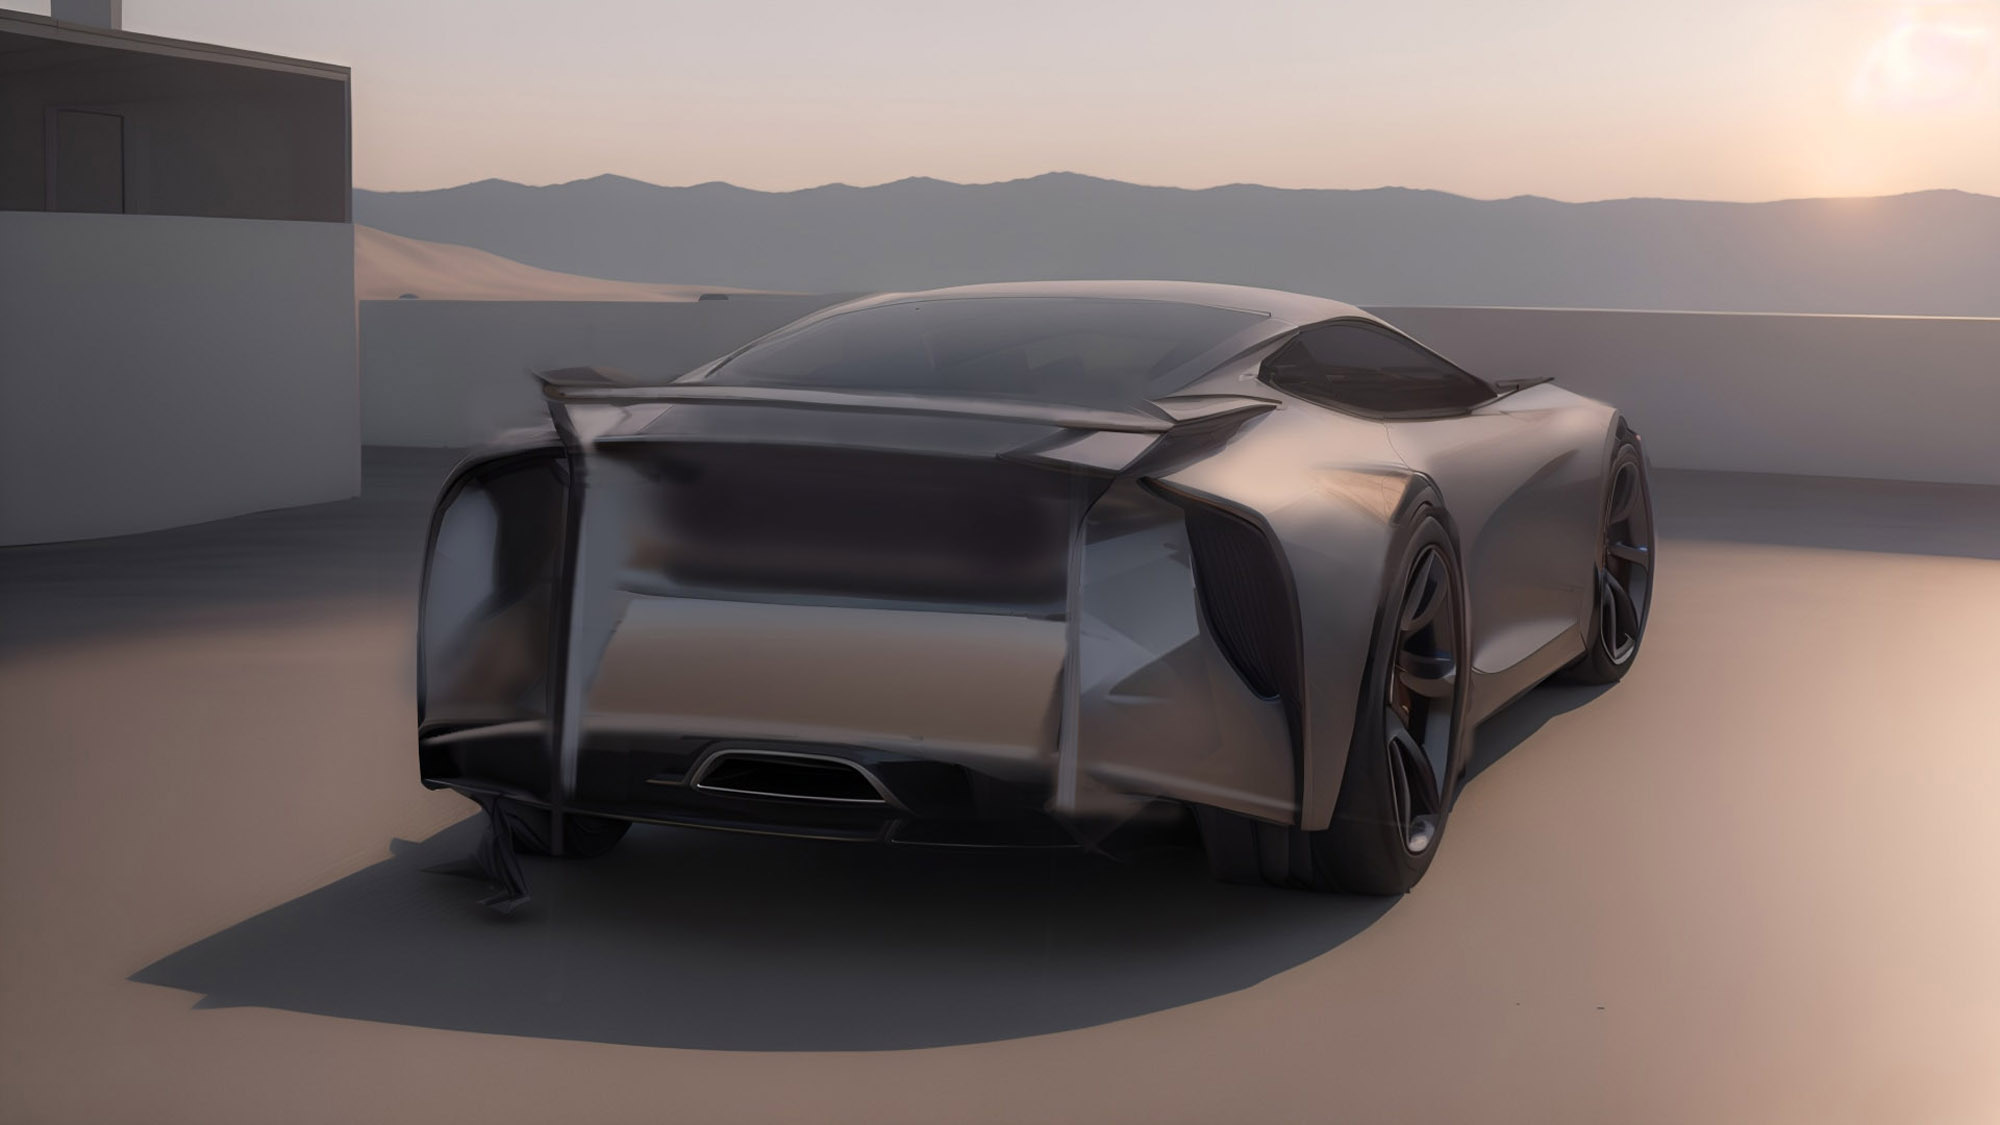
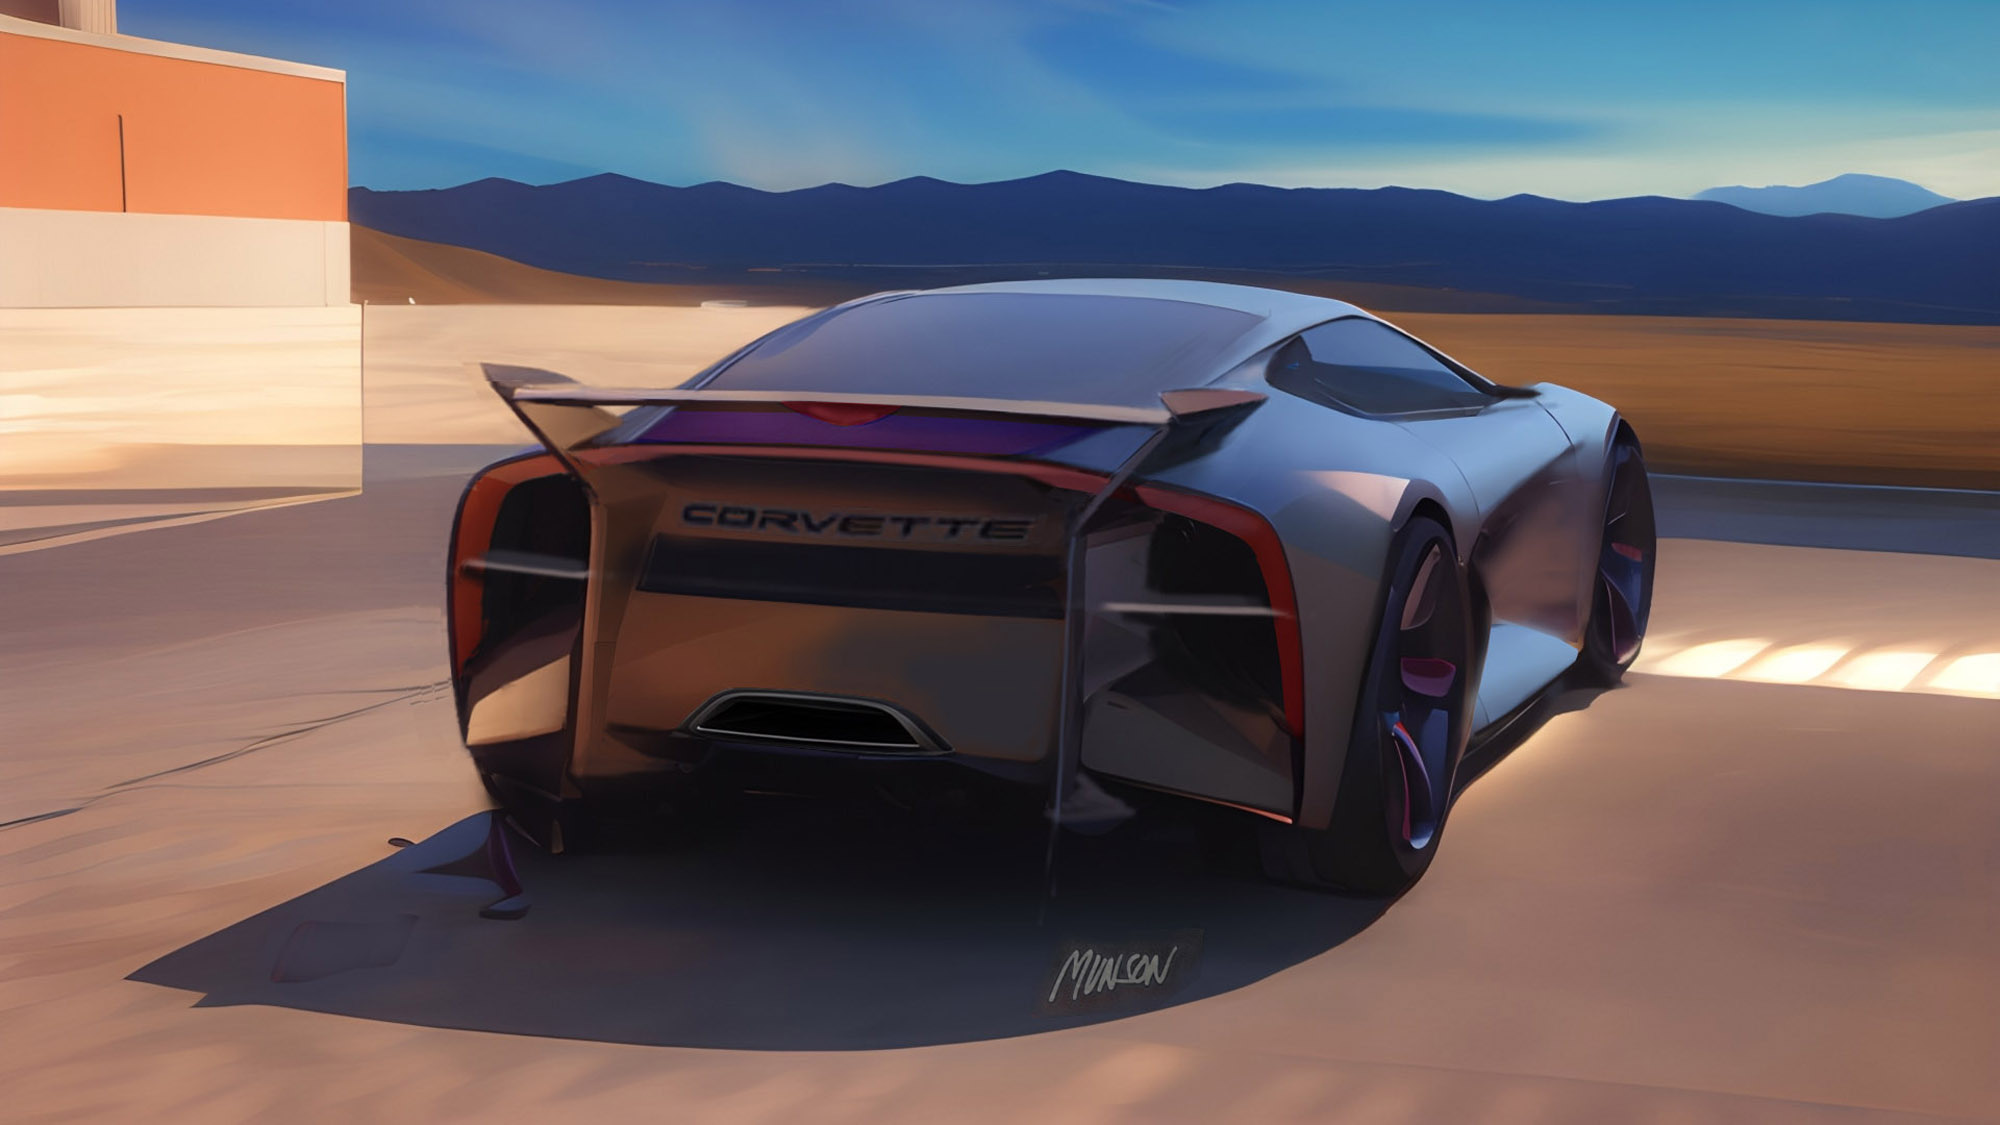
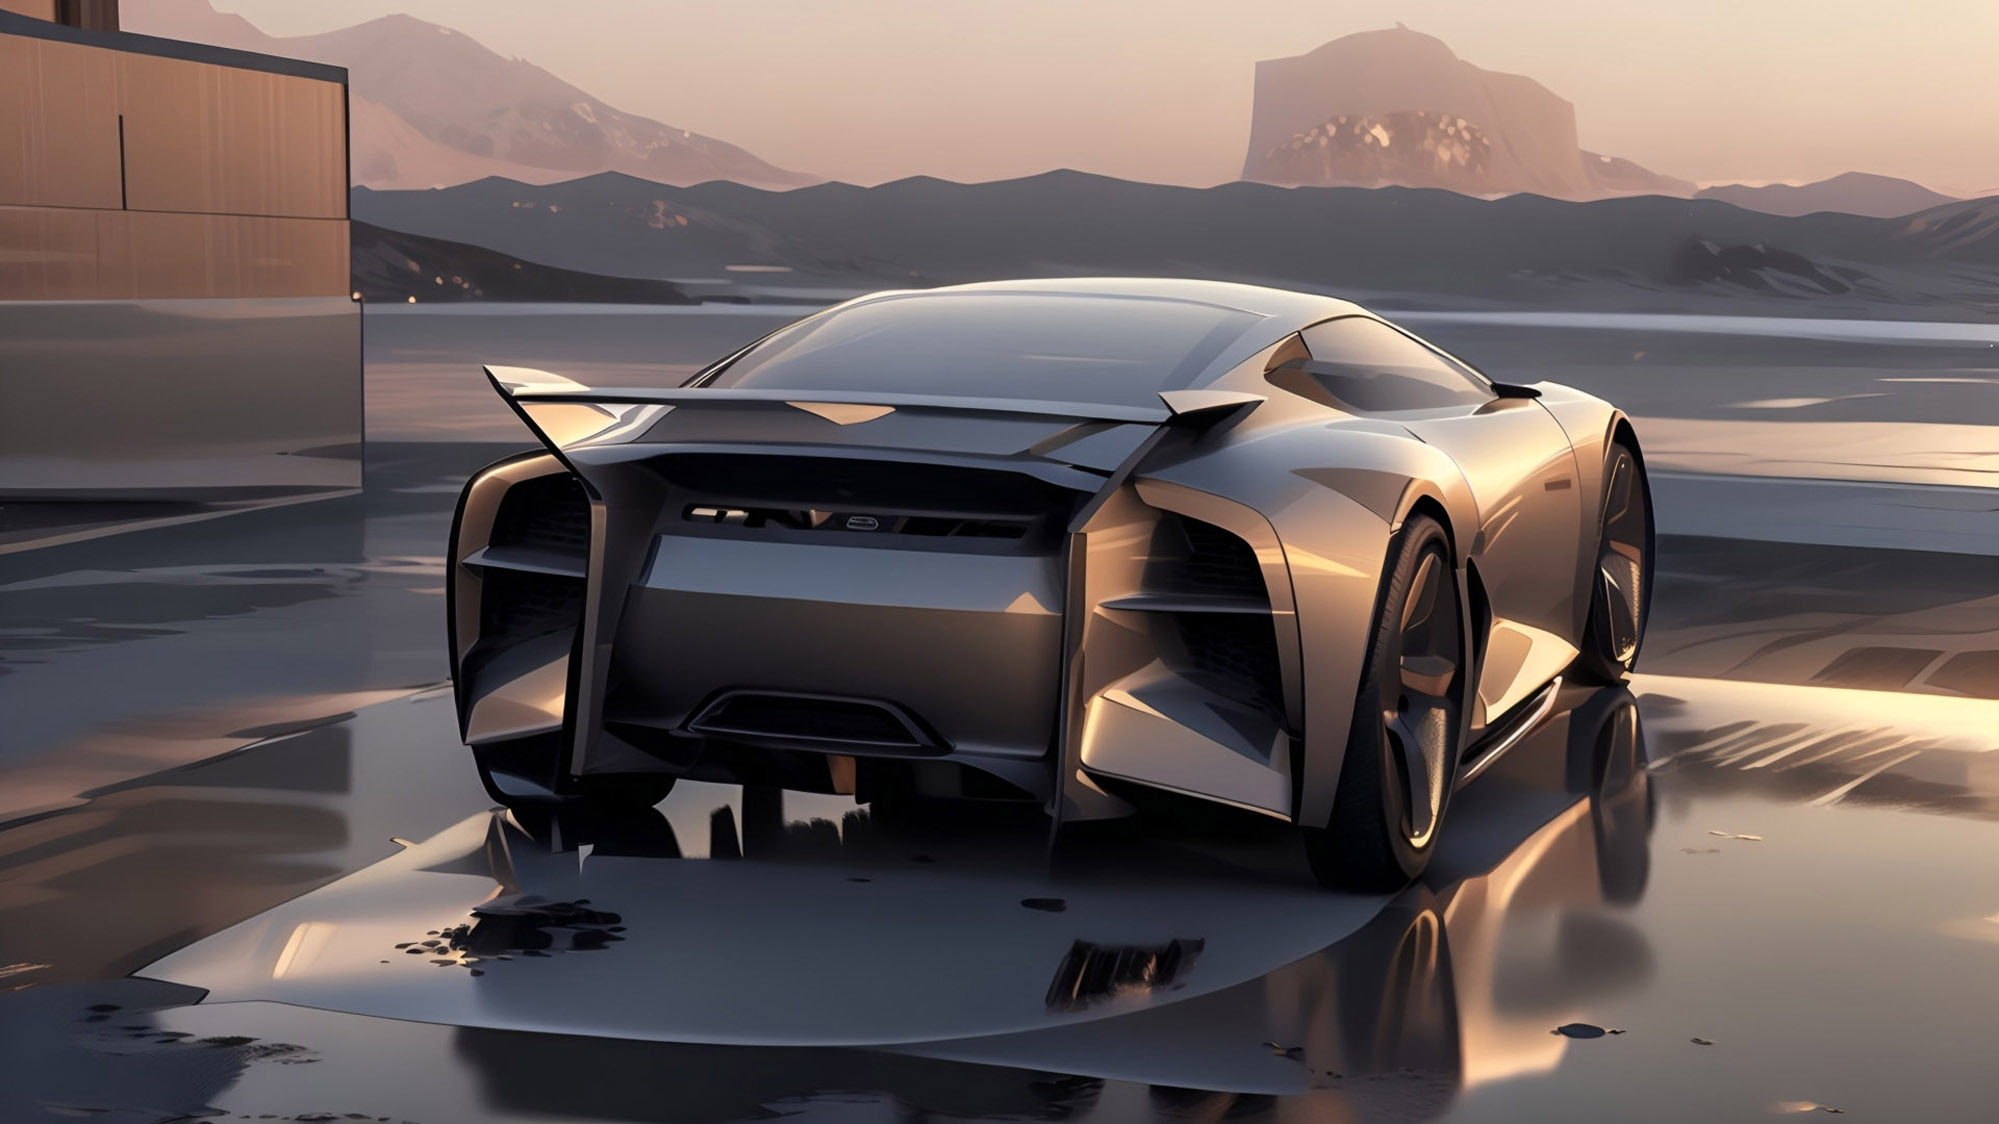
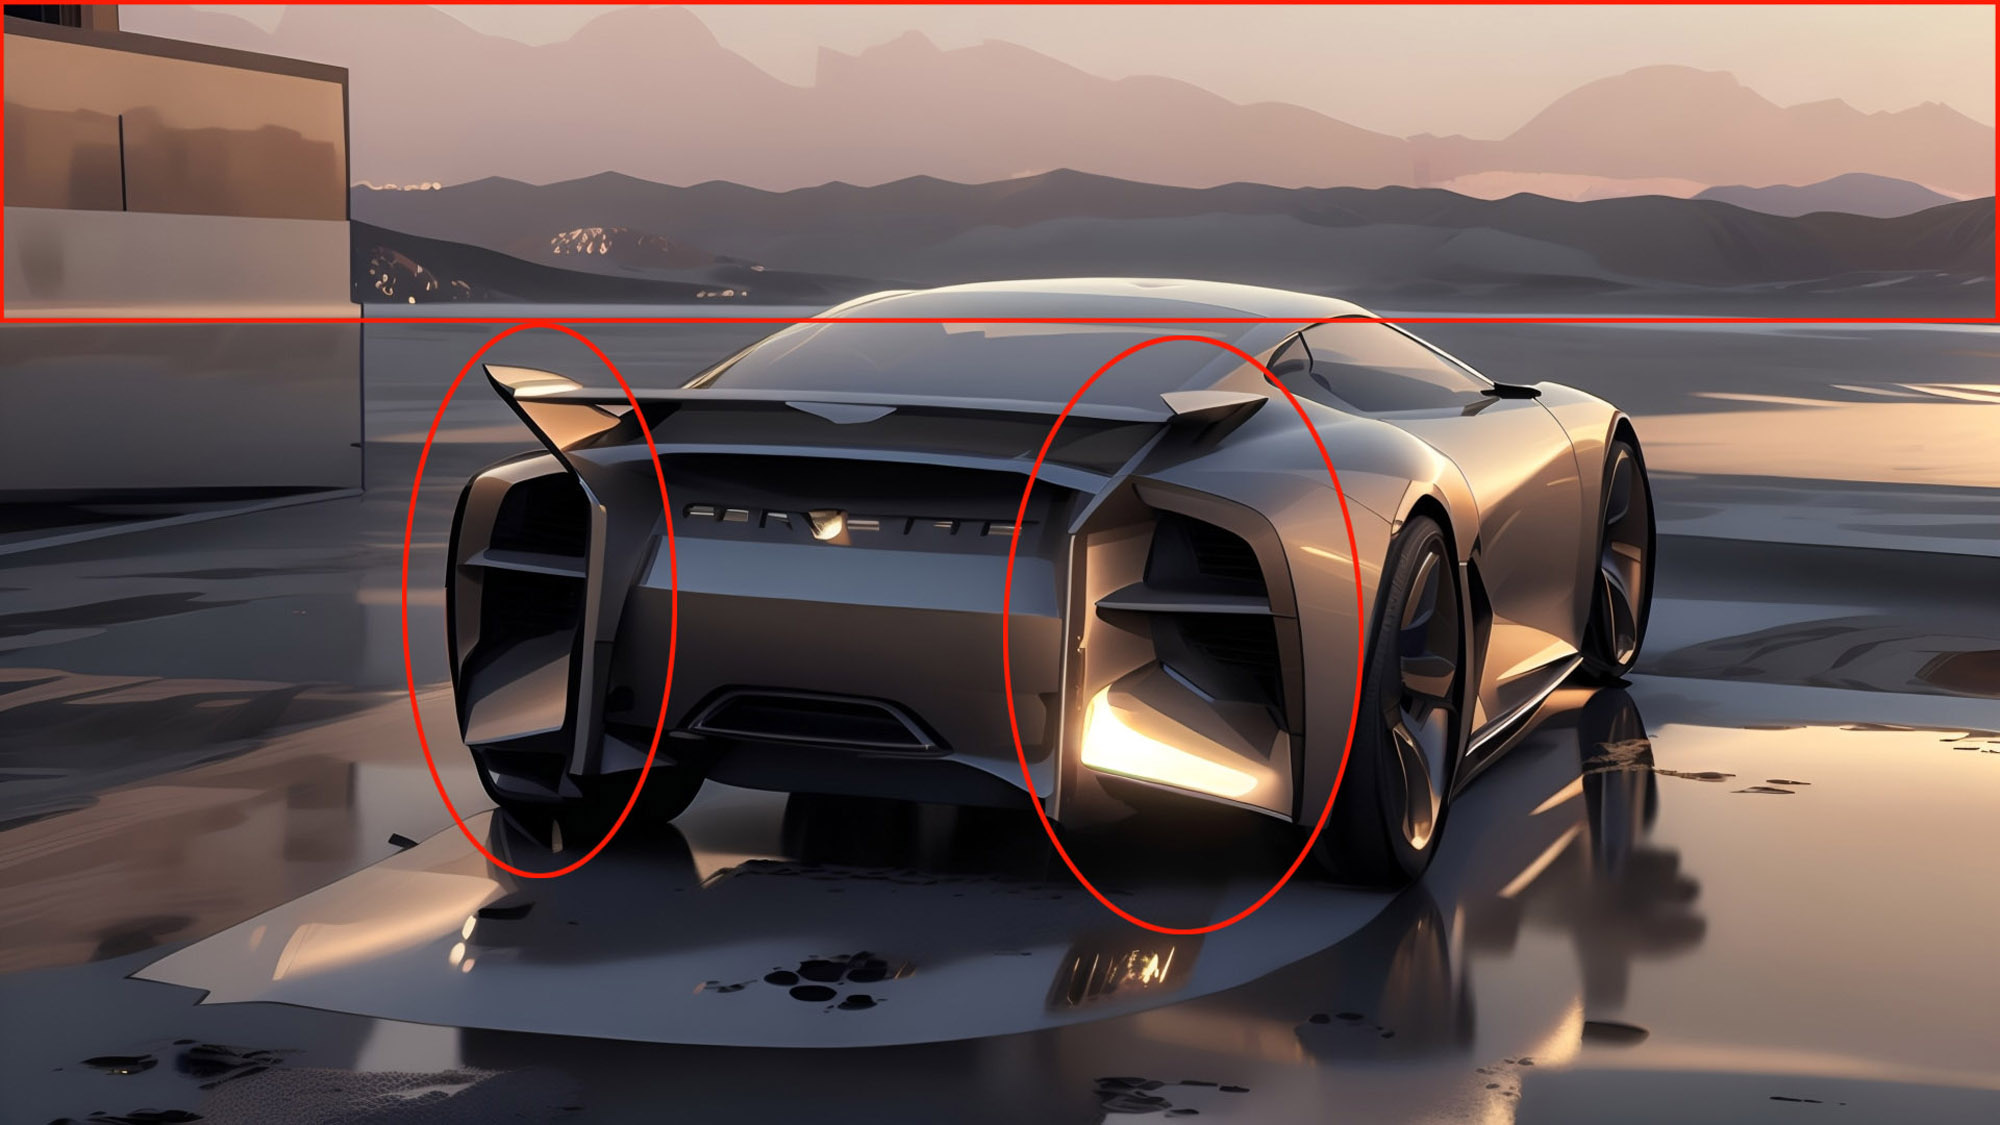
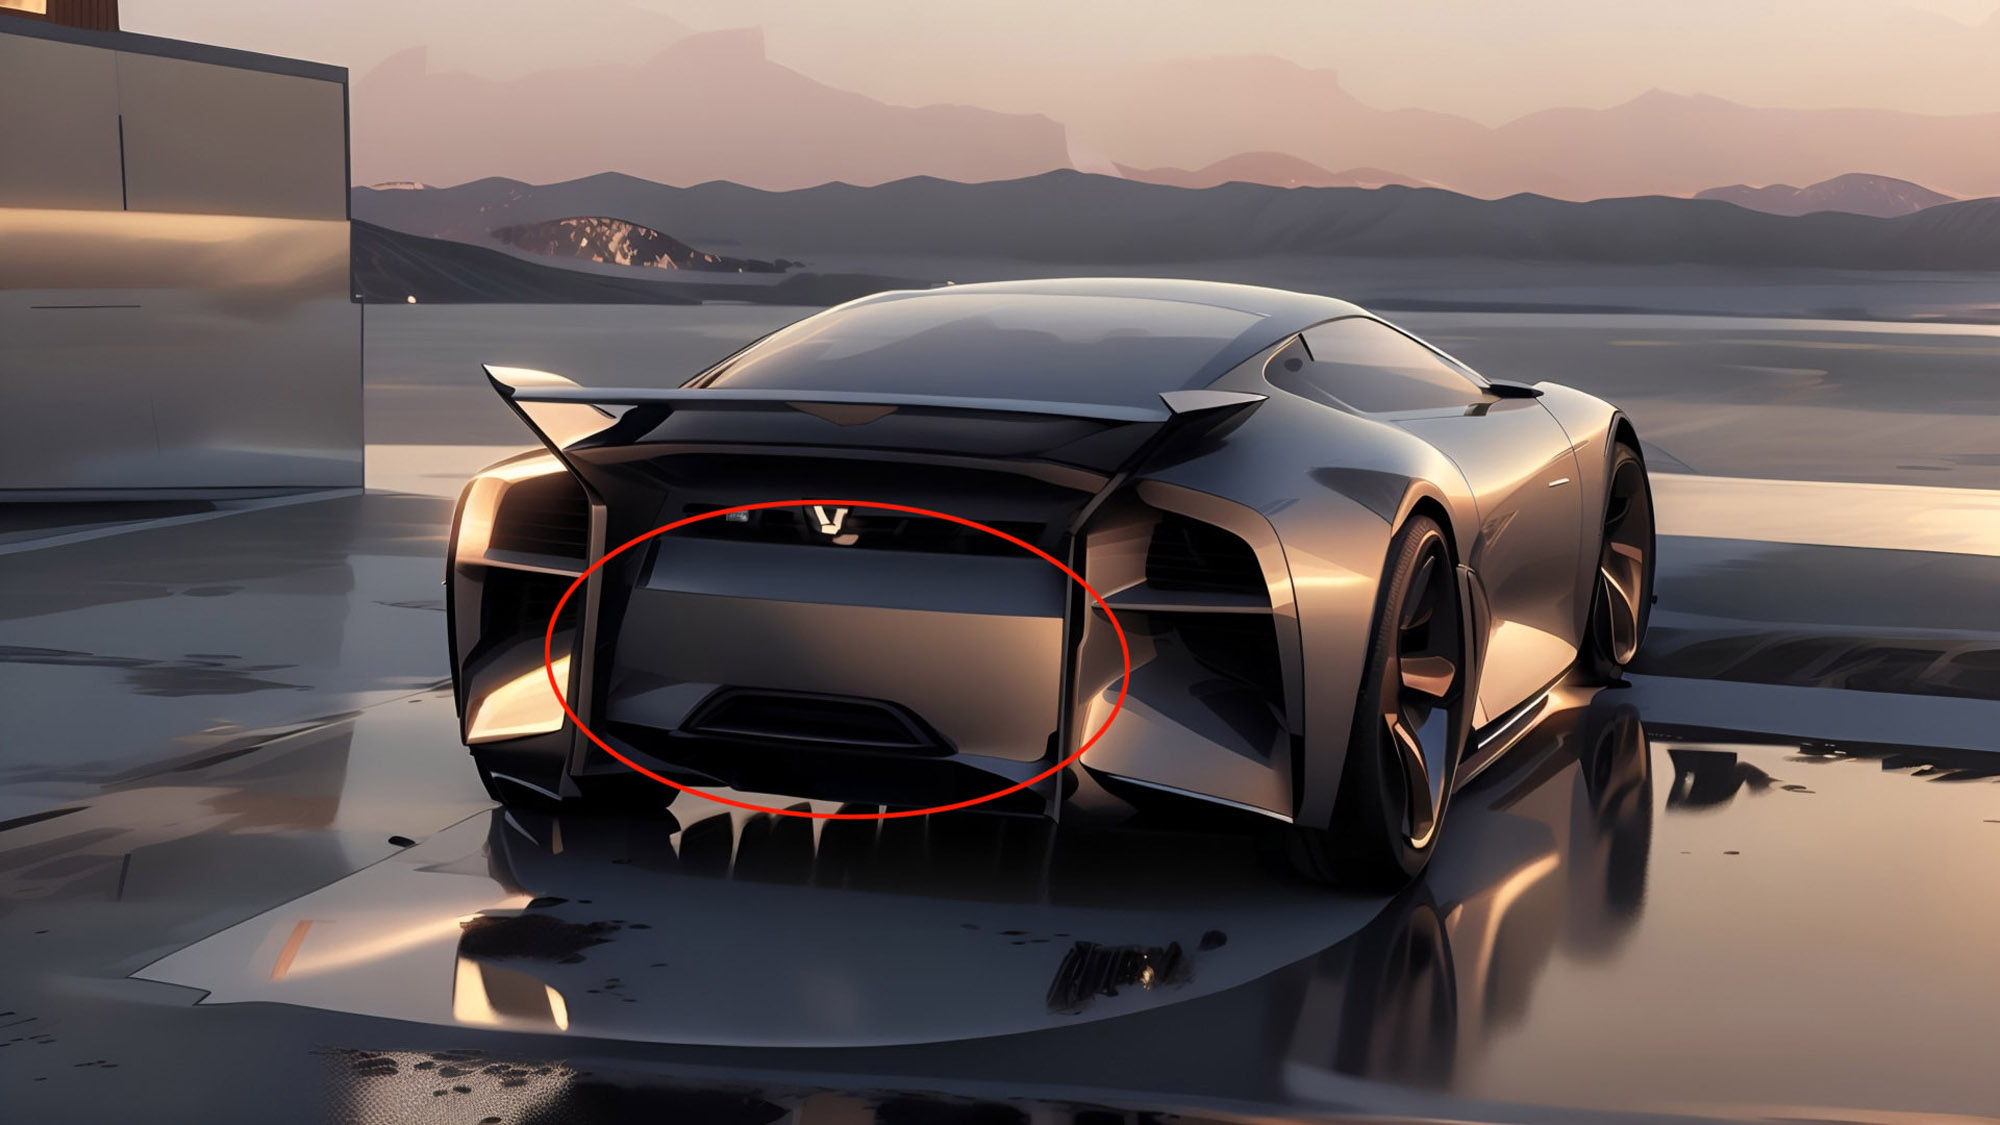
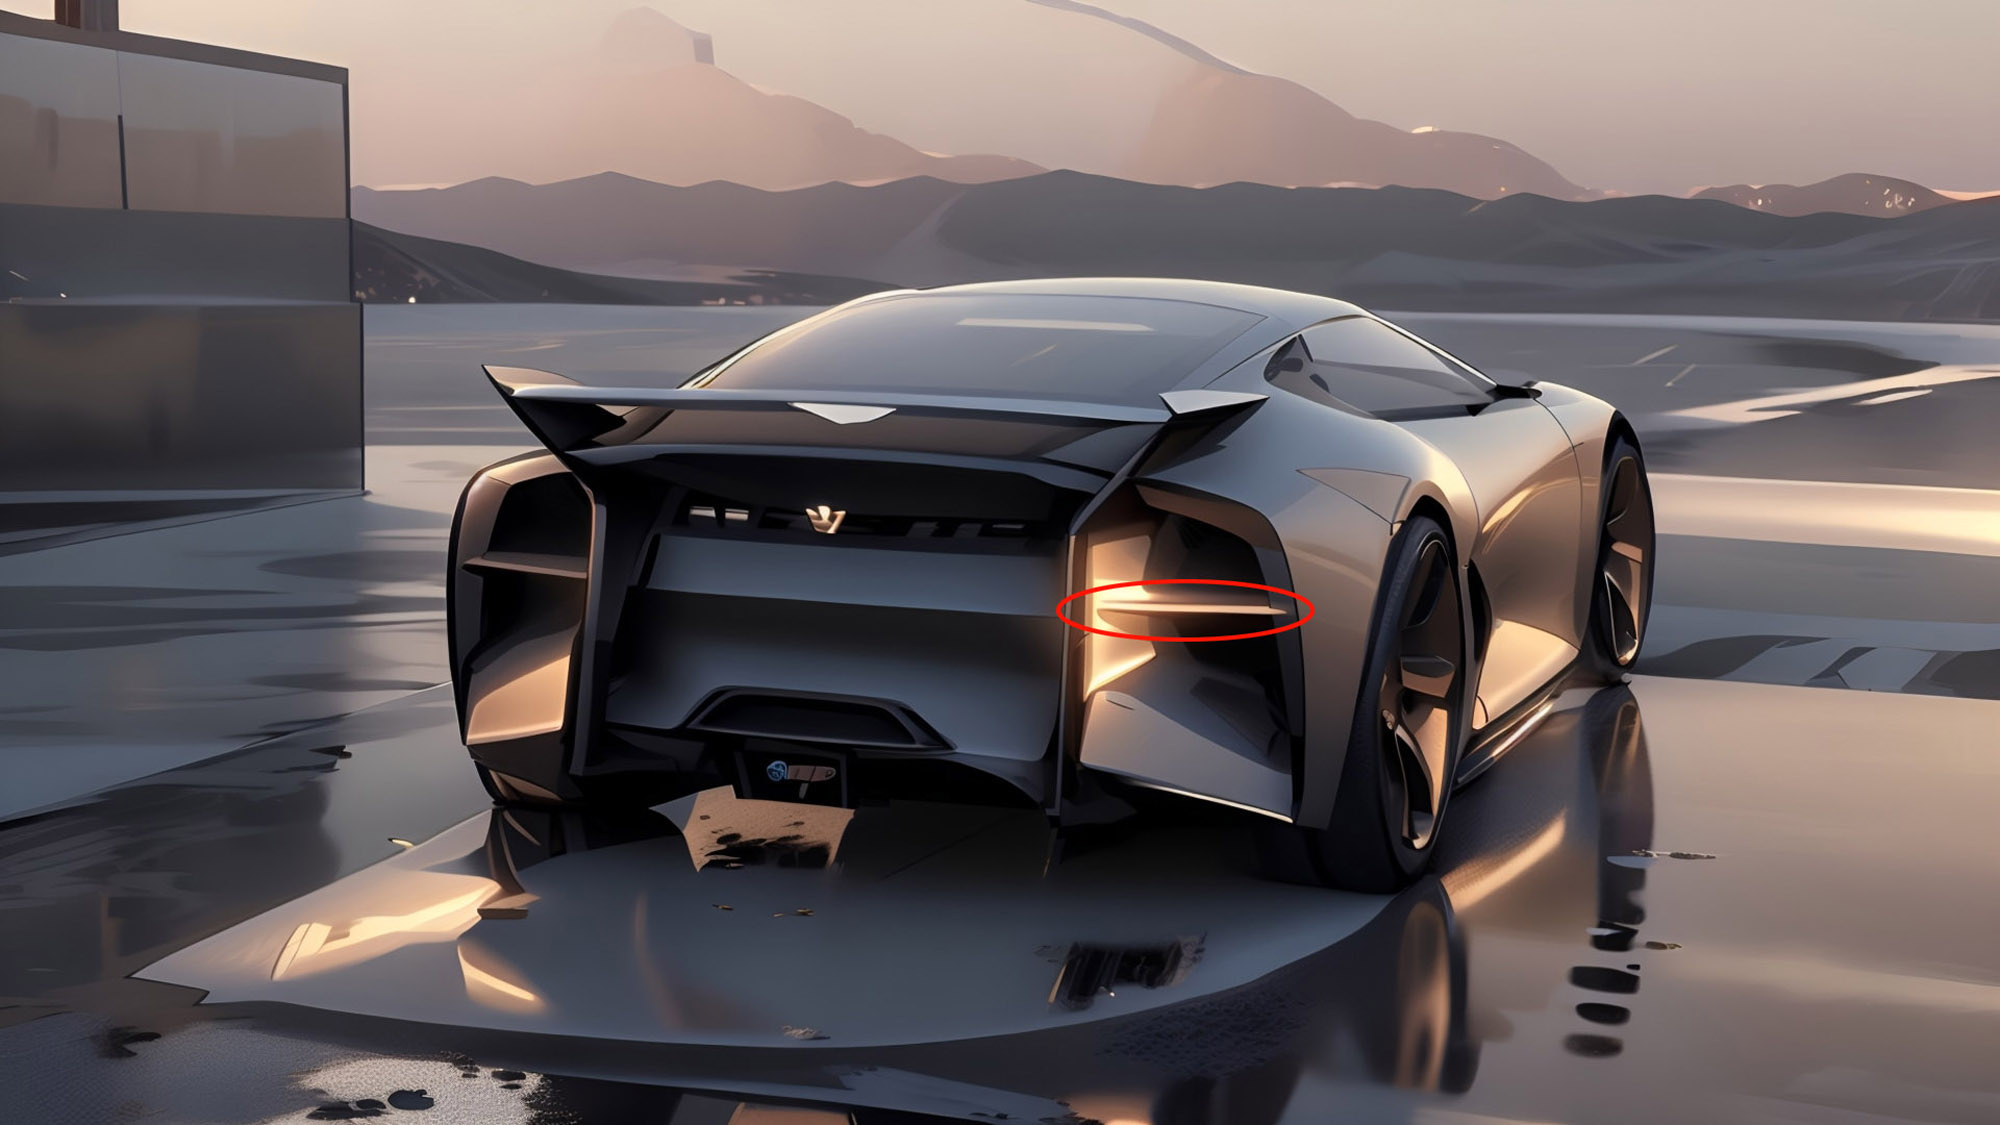
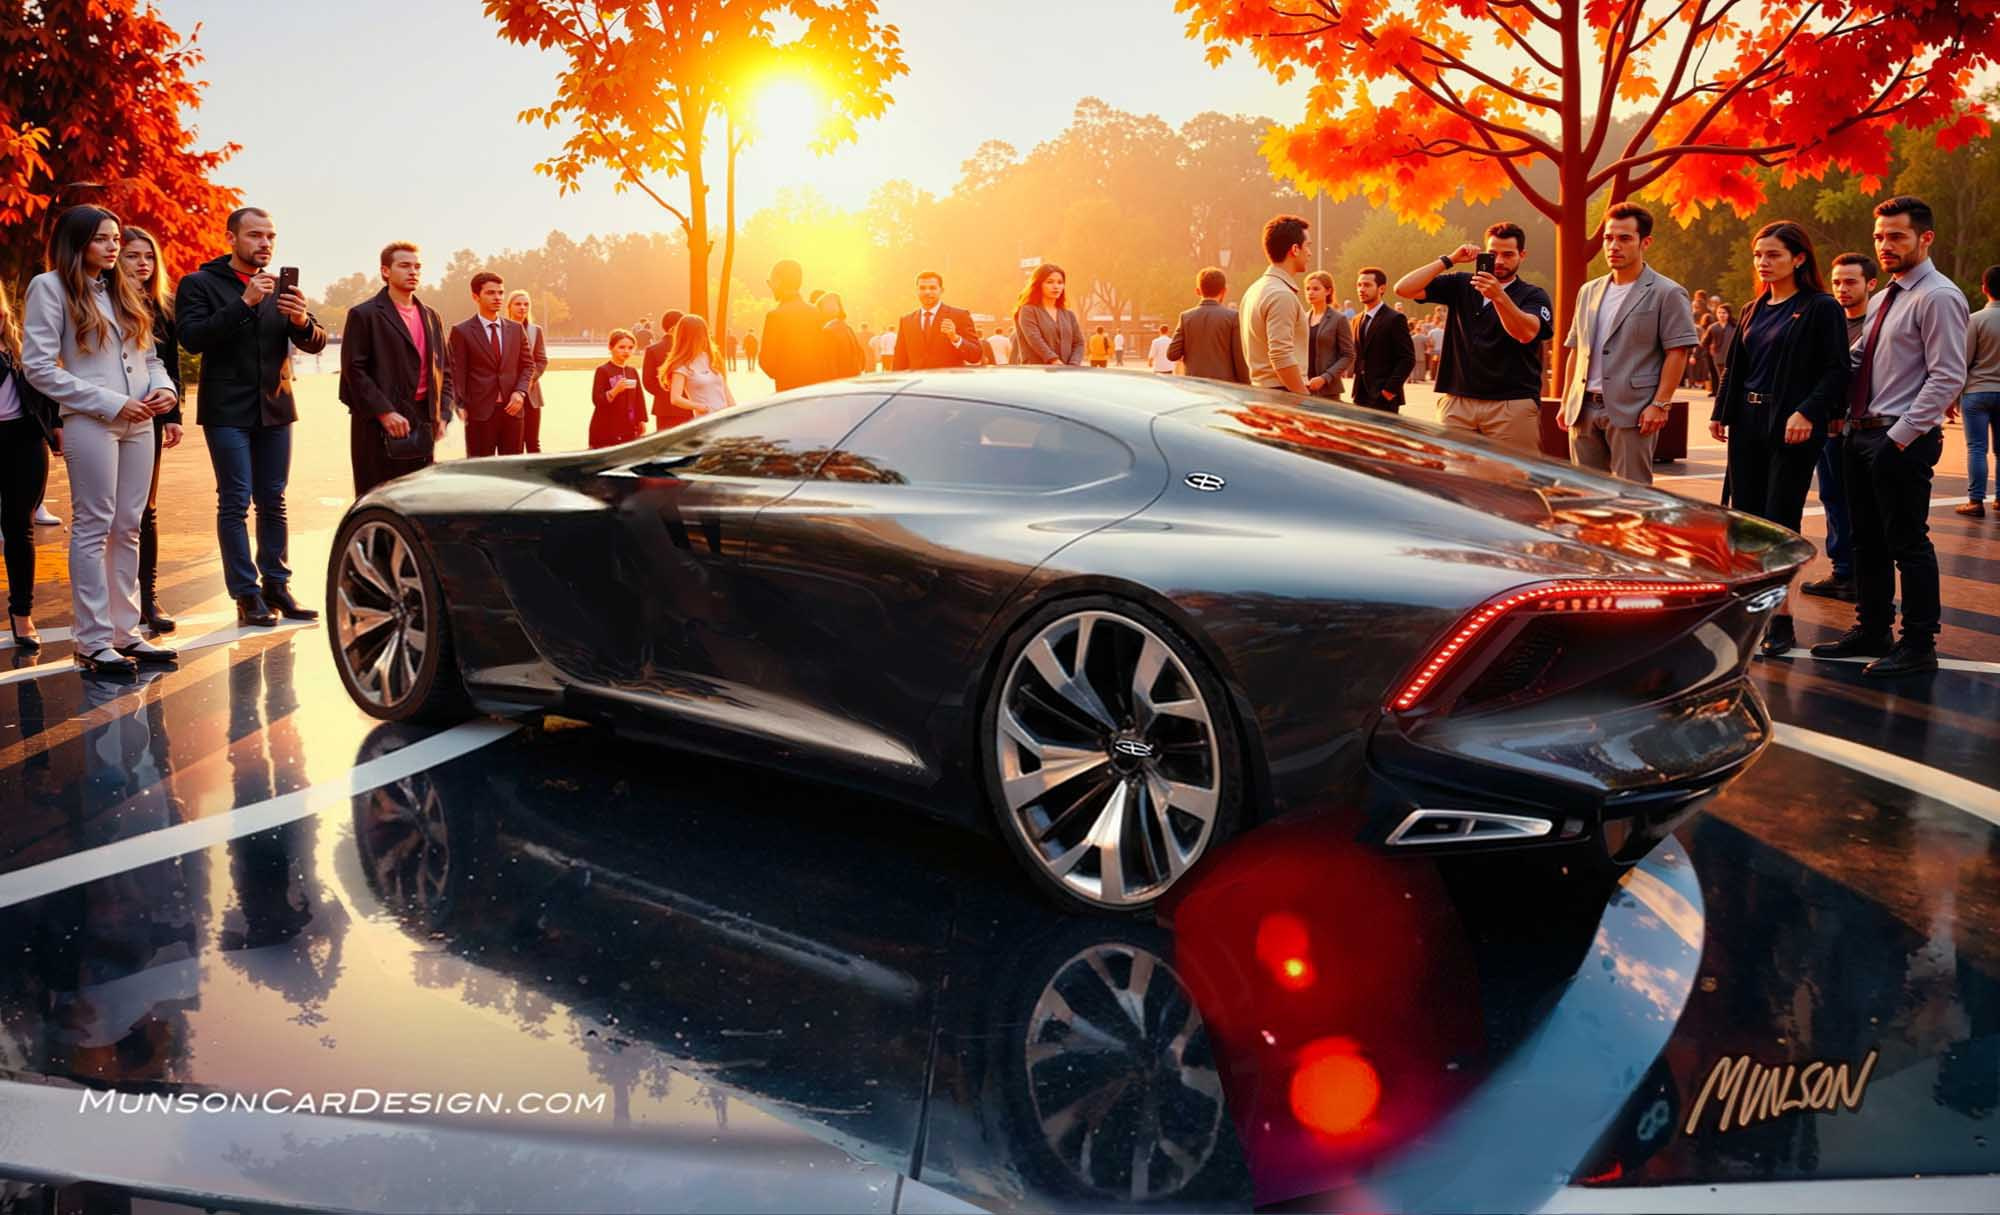
The initial sketch in this series is very rough, but good enough to get great results with Vizcom. I started with Vizcom General to create a basic surface and reworked that in Photoshop. I then regenerated that in Technicolor 6 with a quick and dramatic effect. It took only a few hours to go from sketch to polished Vizcom rendering which also included Photoshop. I brought the blue sketch back into Vizcom with a reference image to elevate the rendering style and make it more photorealistic. I immediately had a dozen outstanding results to choose from. I combined 4 of them in Photoshop to get the featured image.
This was by far the fastest rendering I’ve created with Vizcom.






2 Responses
Beautiful sketch and nicely done tutorial!
WOW. Just amazing talent. I used to work at ASC International Design.
I have a true appreciation for computer skills although I never went beyond photoshop.
Just wonderful talent but more importantly your Design language is spectacular. Congrats.
I look forward to following your work