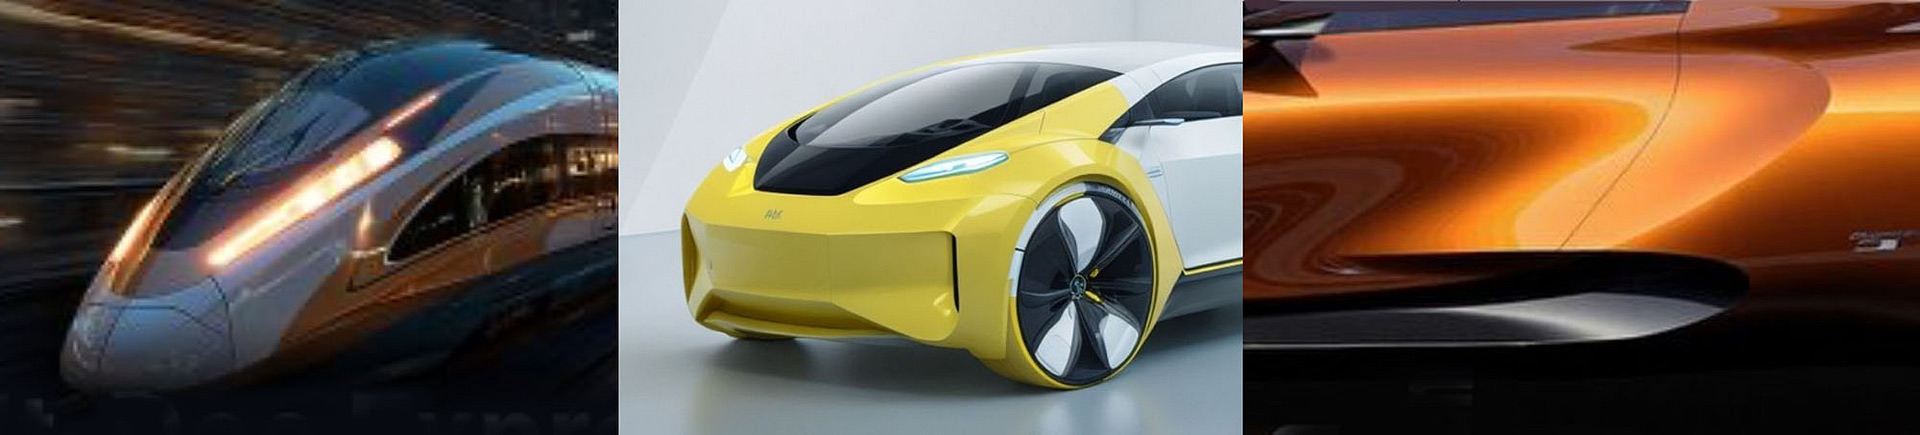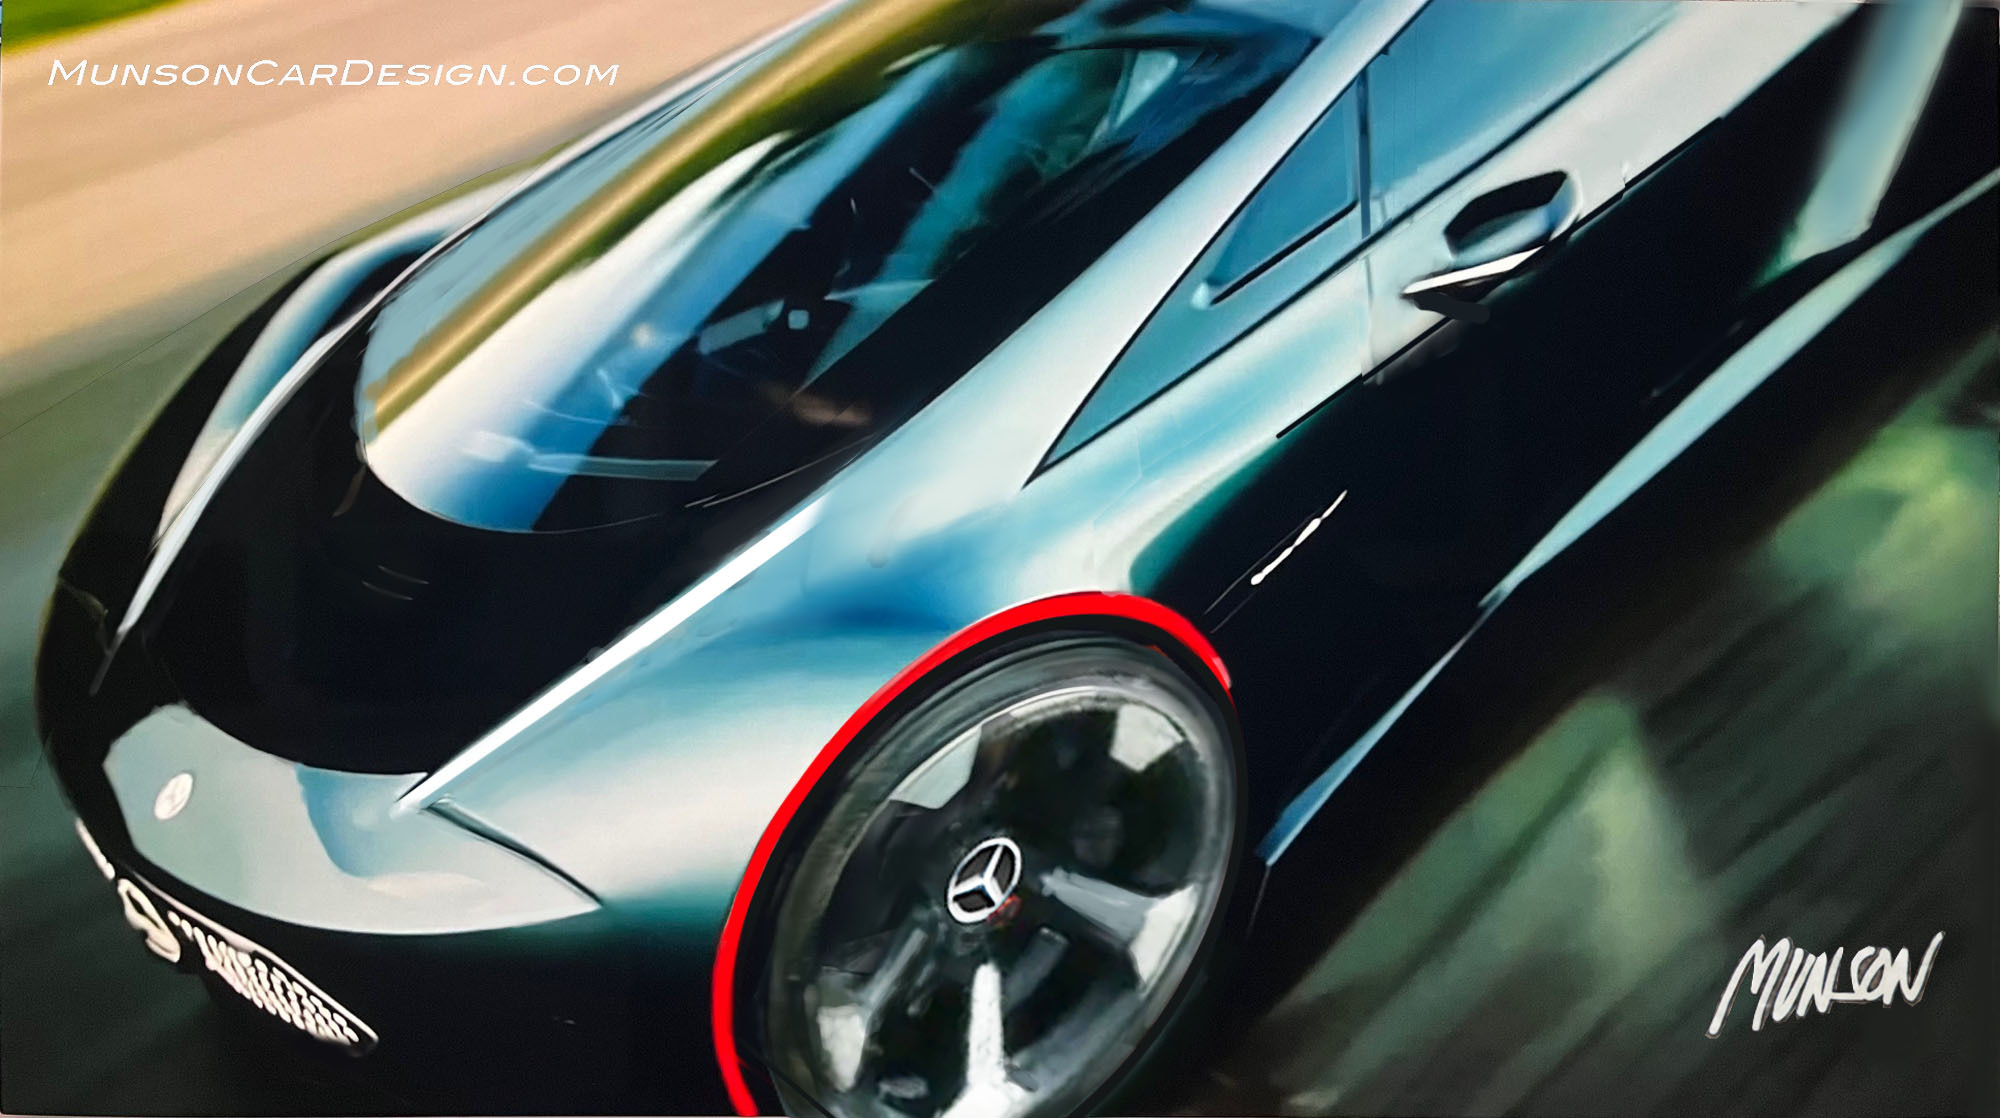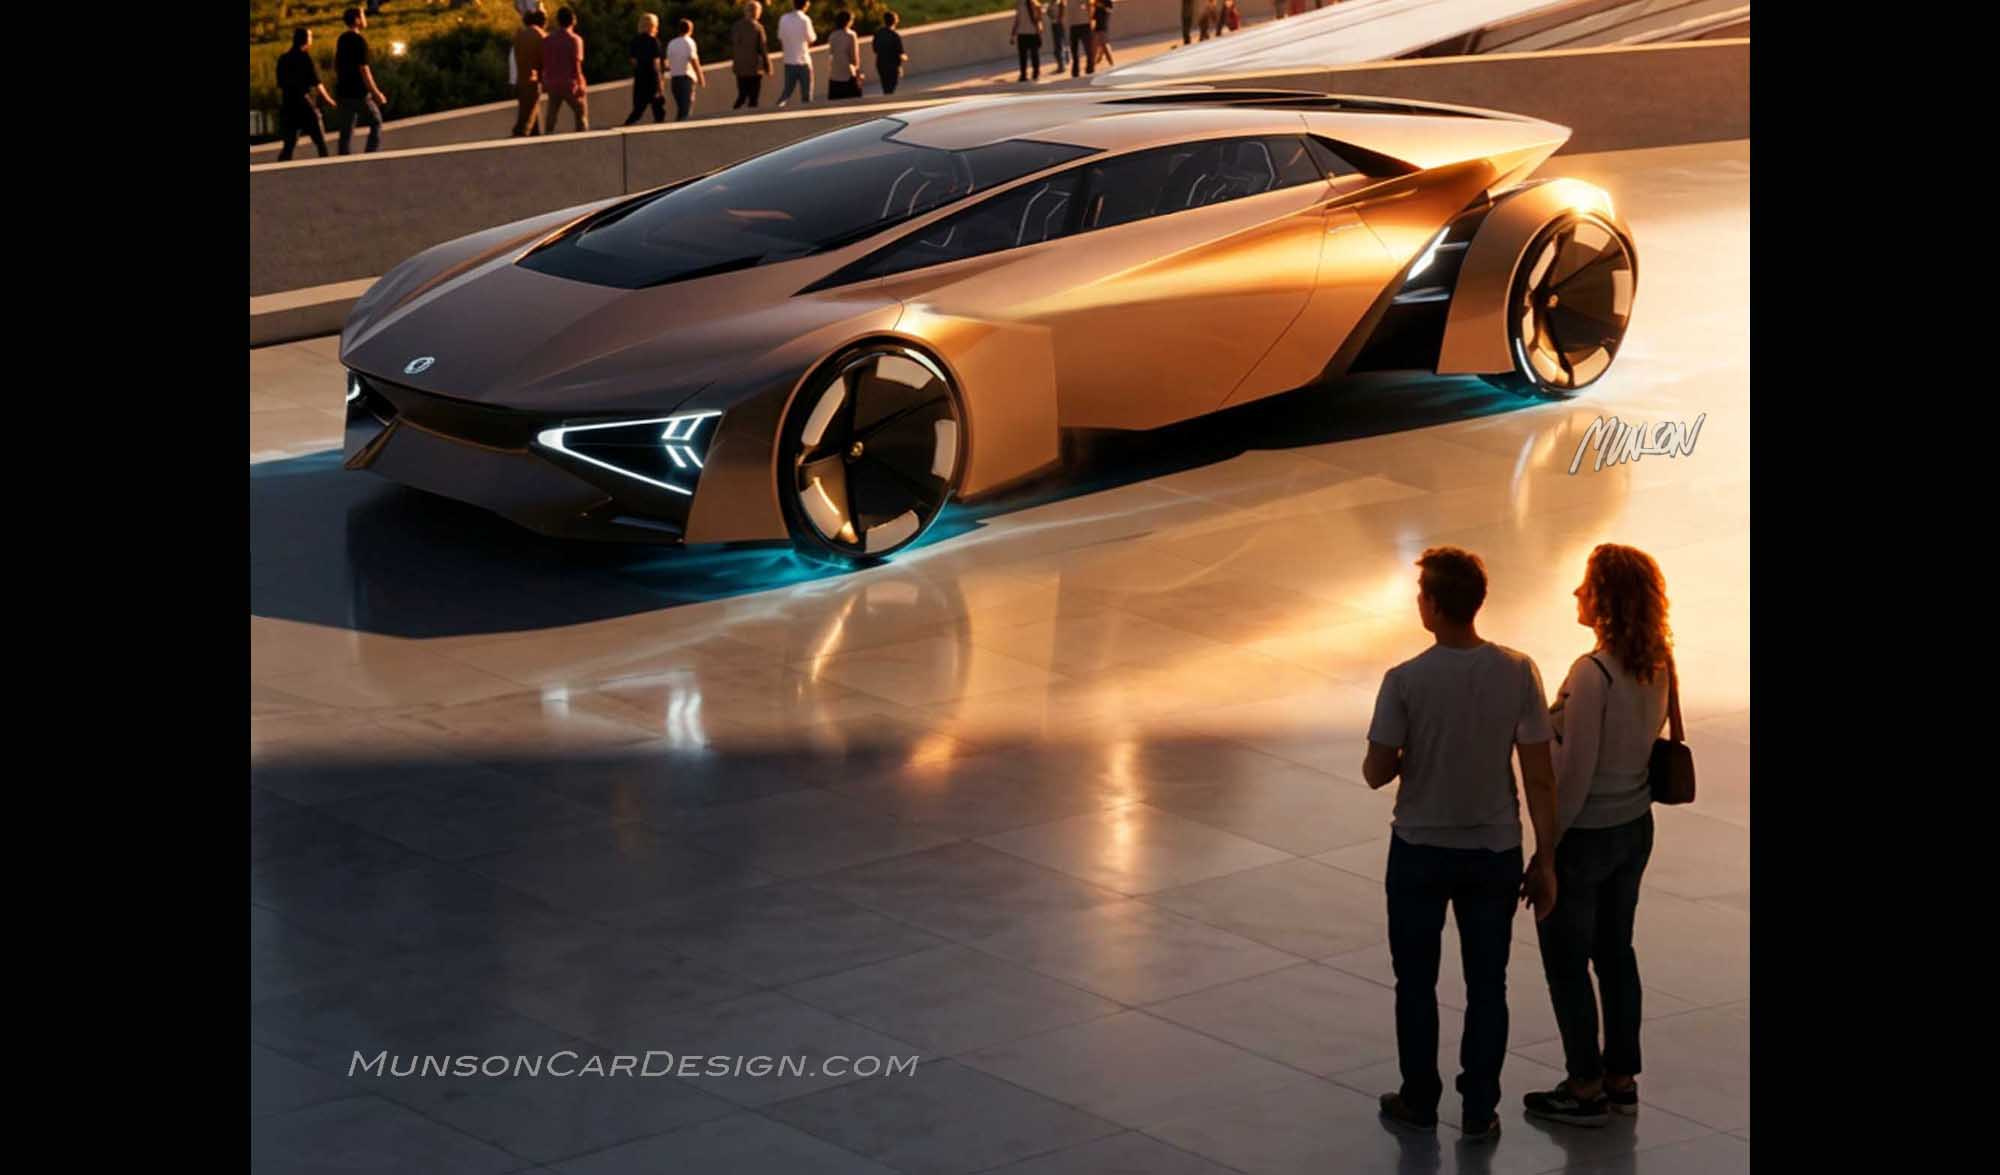
This Mercedes concept is a composite of sampled, or some would say stolen ideas from a train and two cars merged together. I began this design journey by drawing inspiration from the train and yellow car renderings which are shown below. I was intrigued by the shape of the windshield with the headlights along each side. I experimented with soft forms relieved with creases.
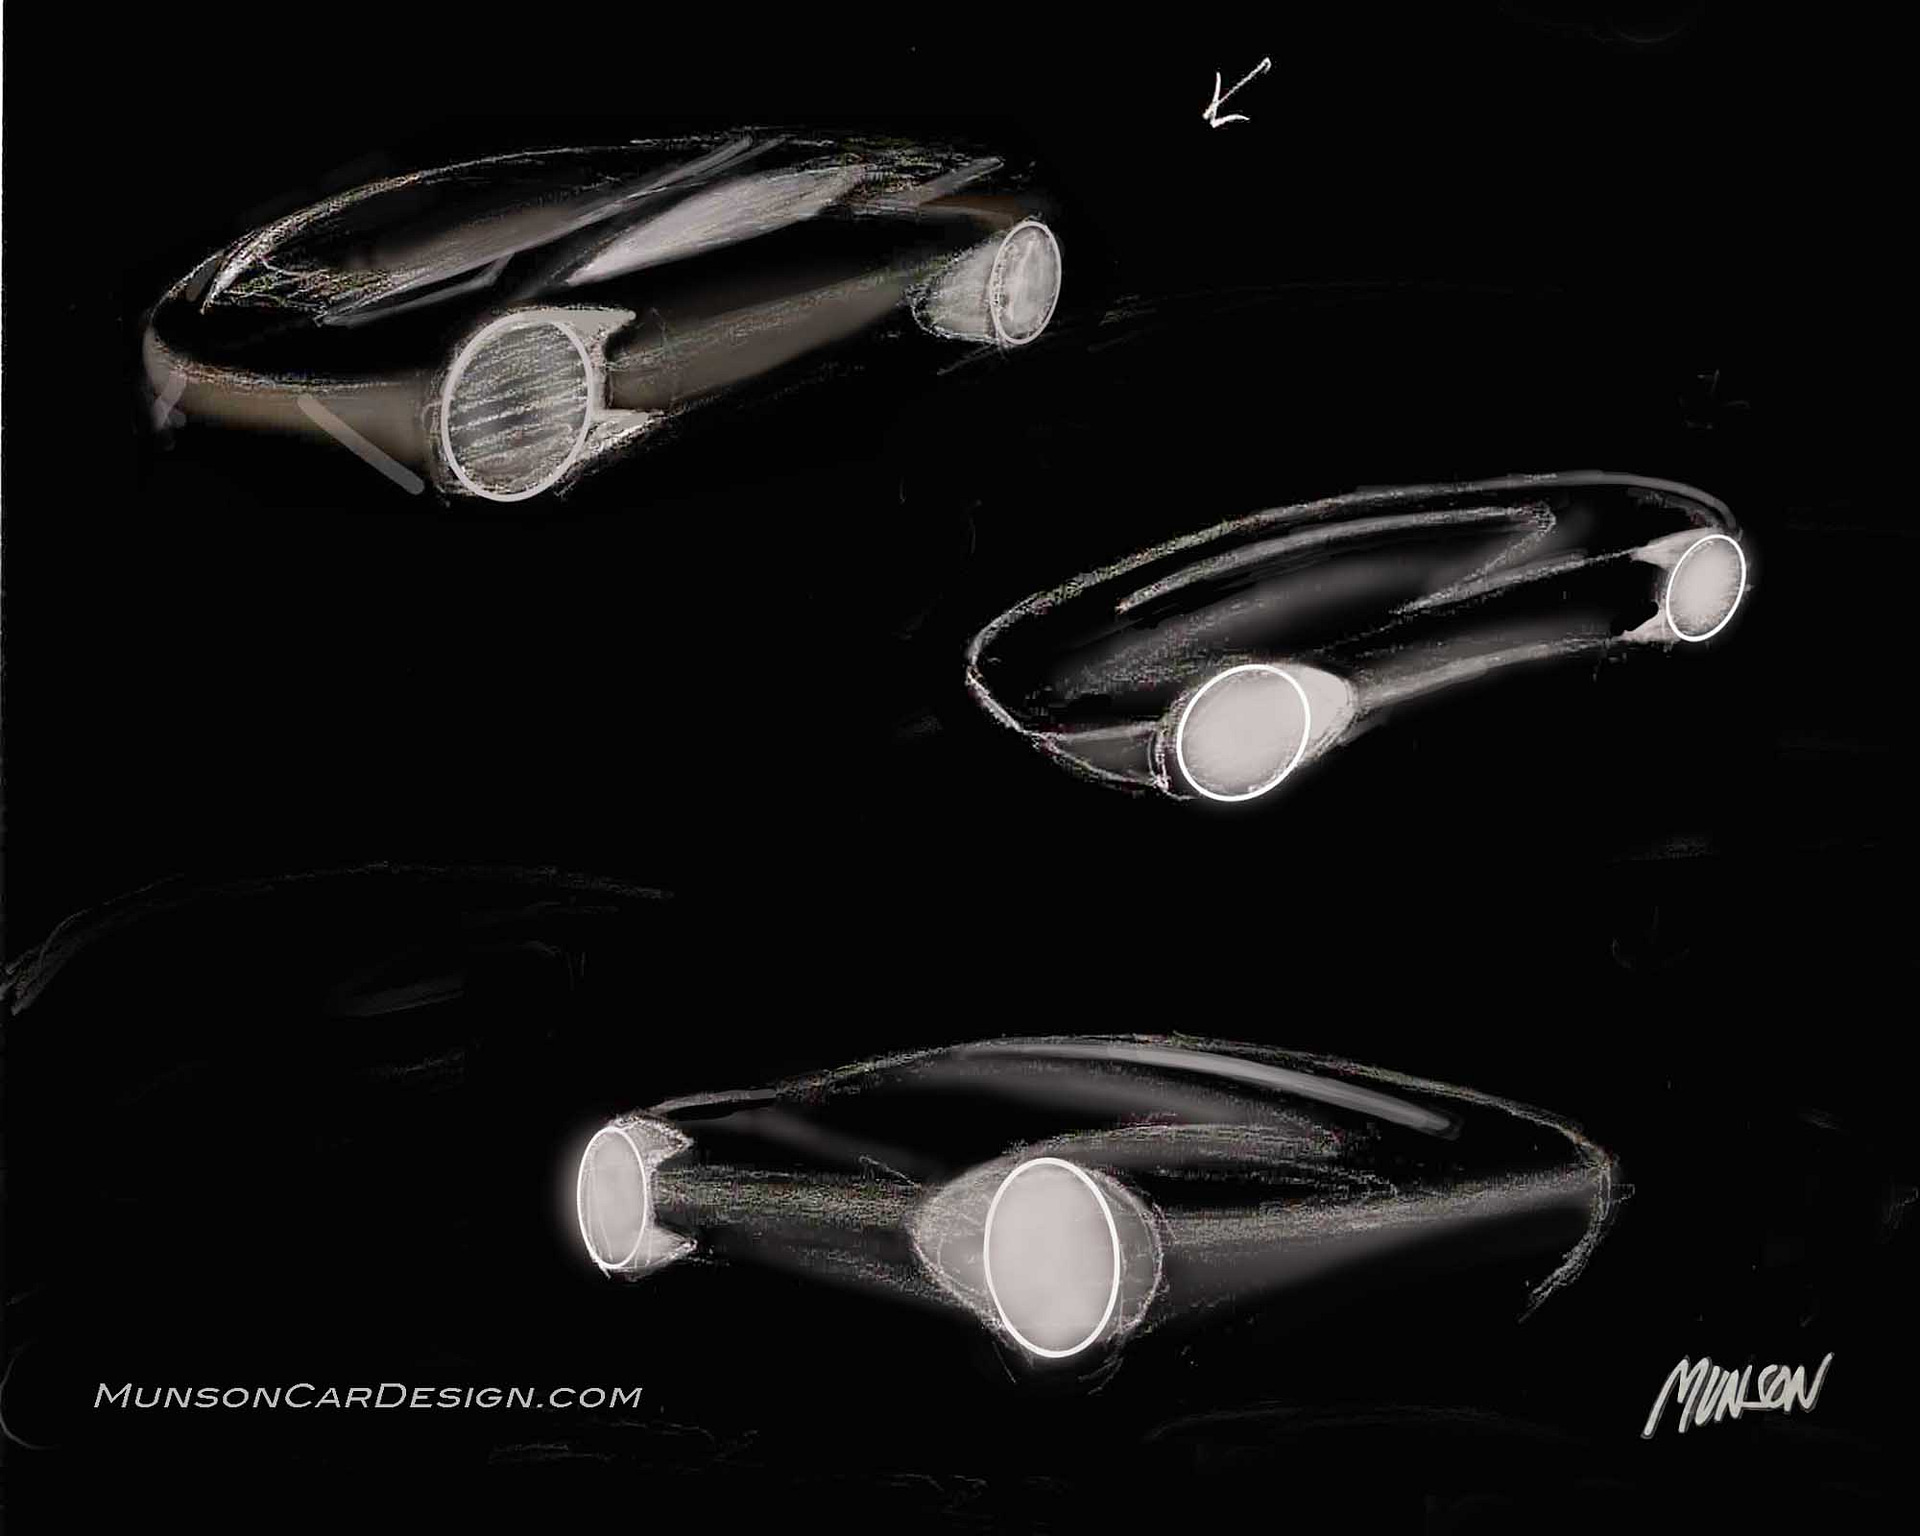
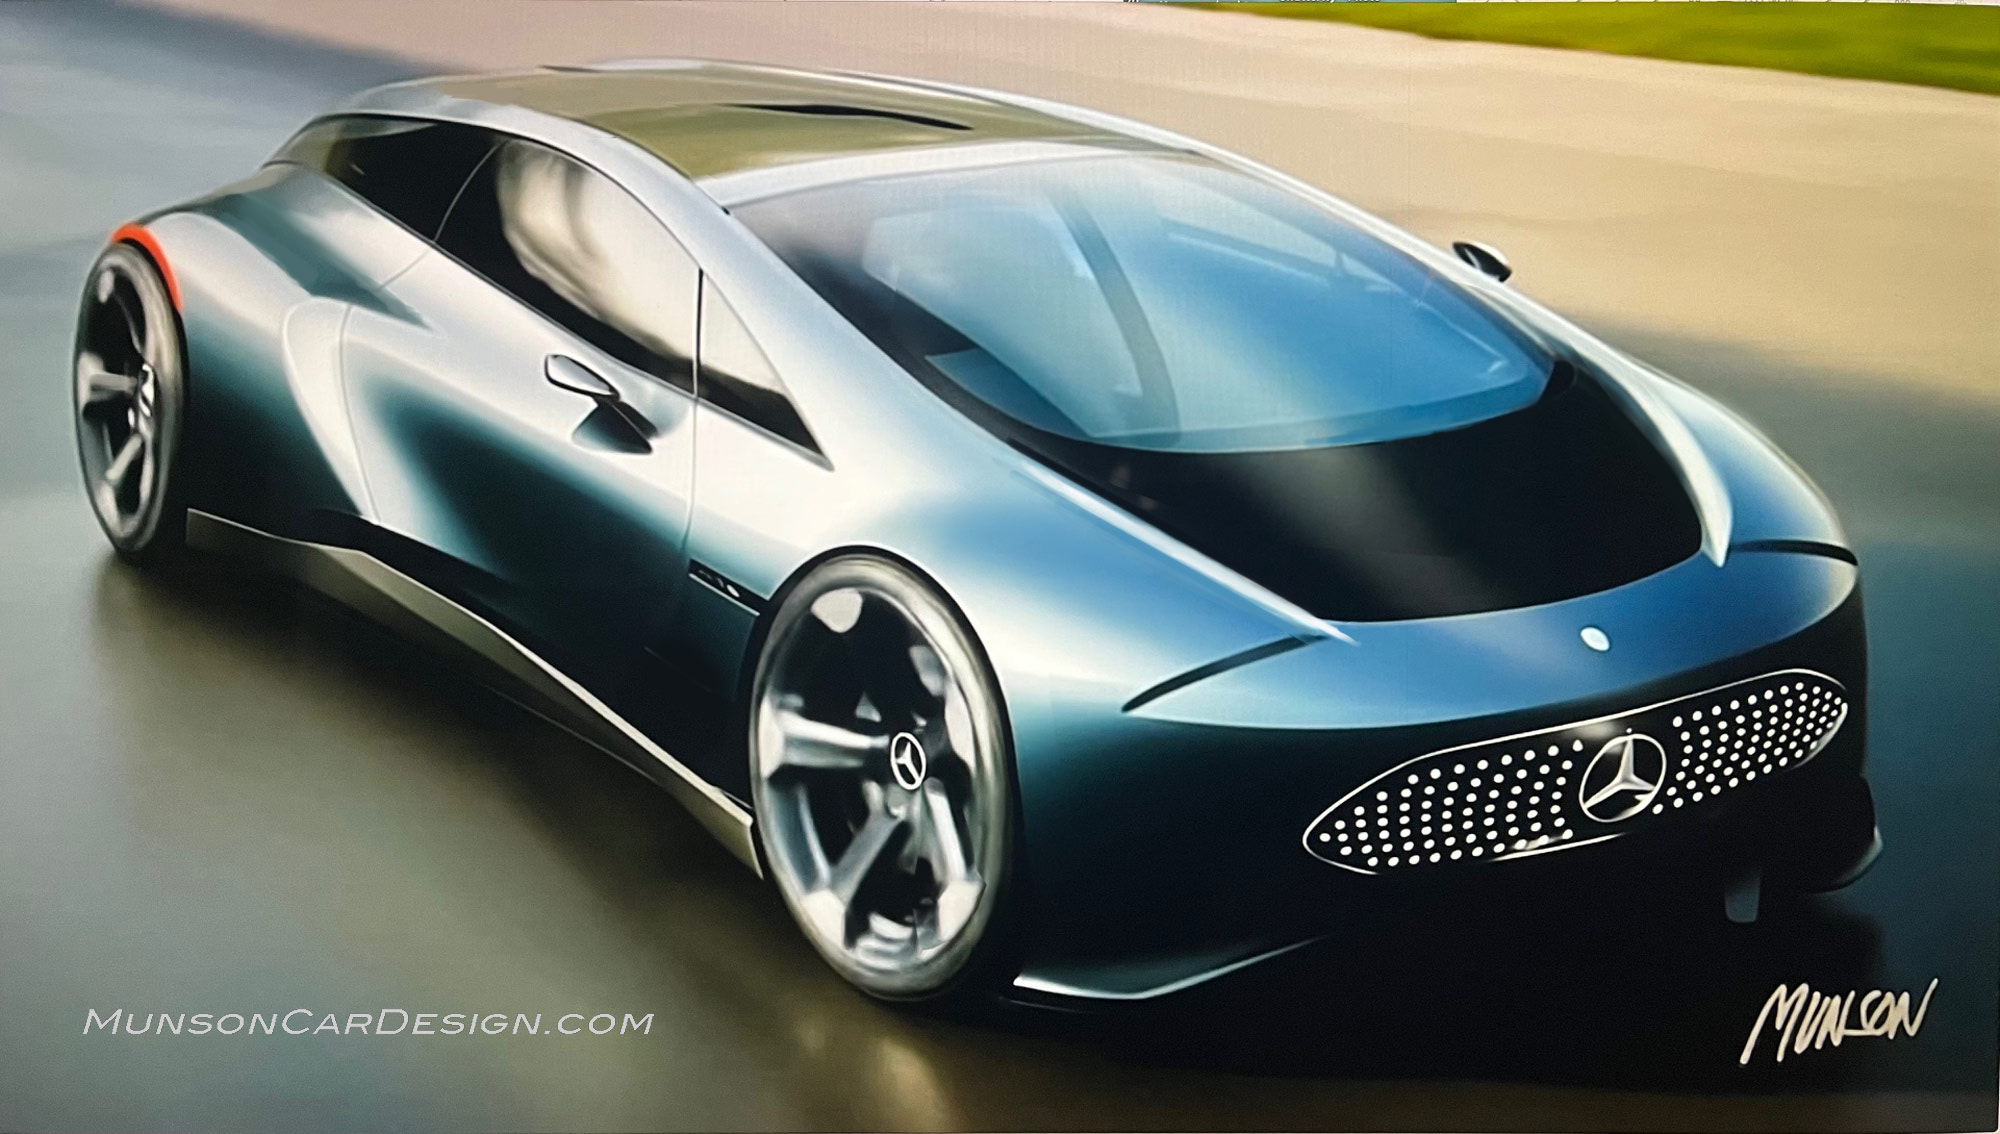
I started with a sketch in a different direction that ultimately evolved into the shooting brake. When I couldn’t make the original idea for the rear quarter work, I had to let go of a favorite idea, opting instead for a dramatic solution from a sketch I found on Pinterest from Ray Automotive Design (Raydesign2015). I can’t find the designer’s name to give him due credit.
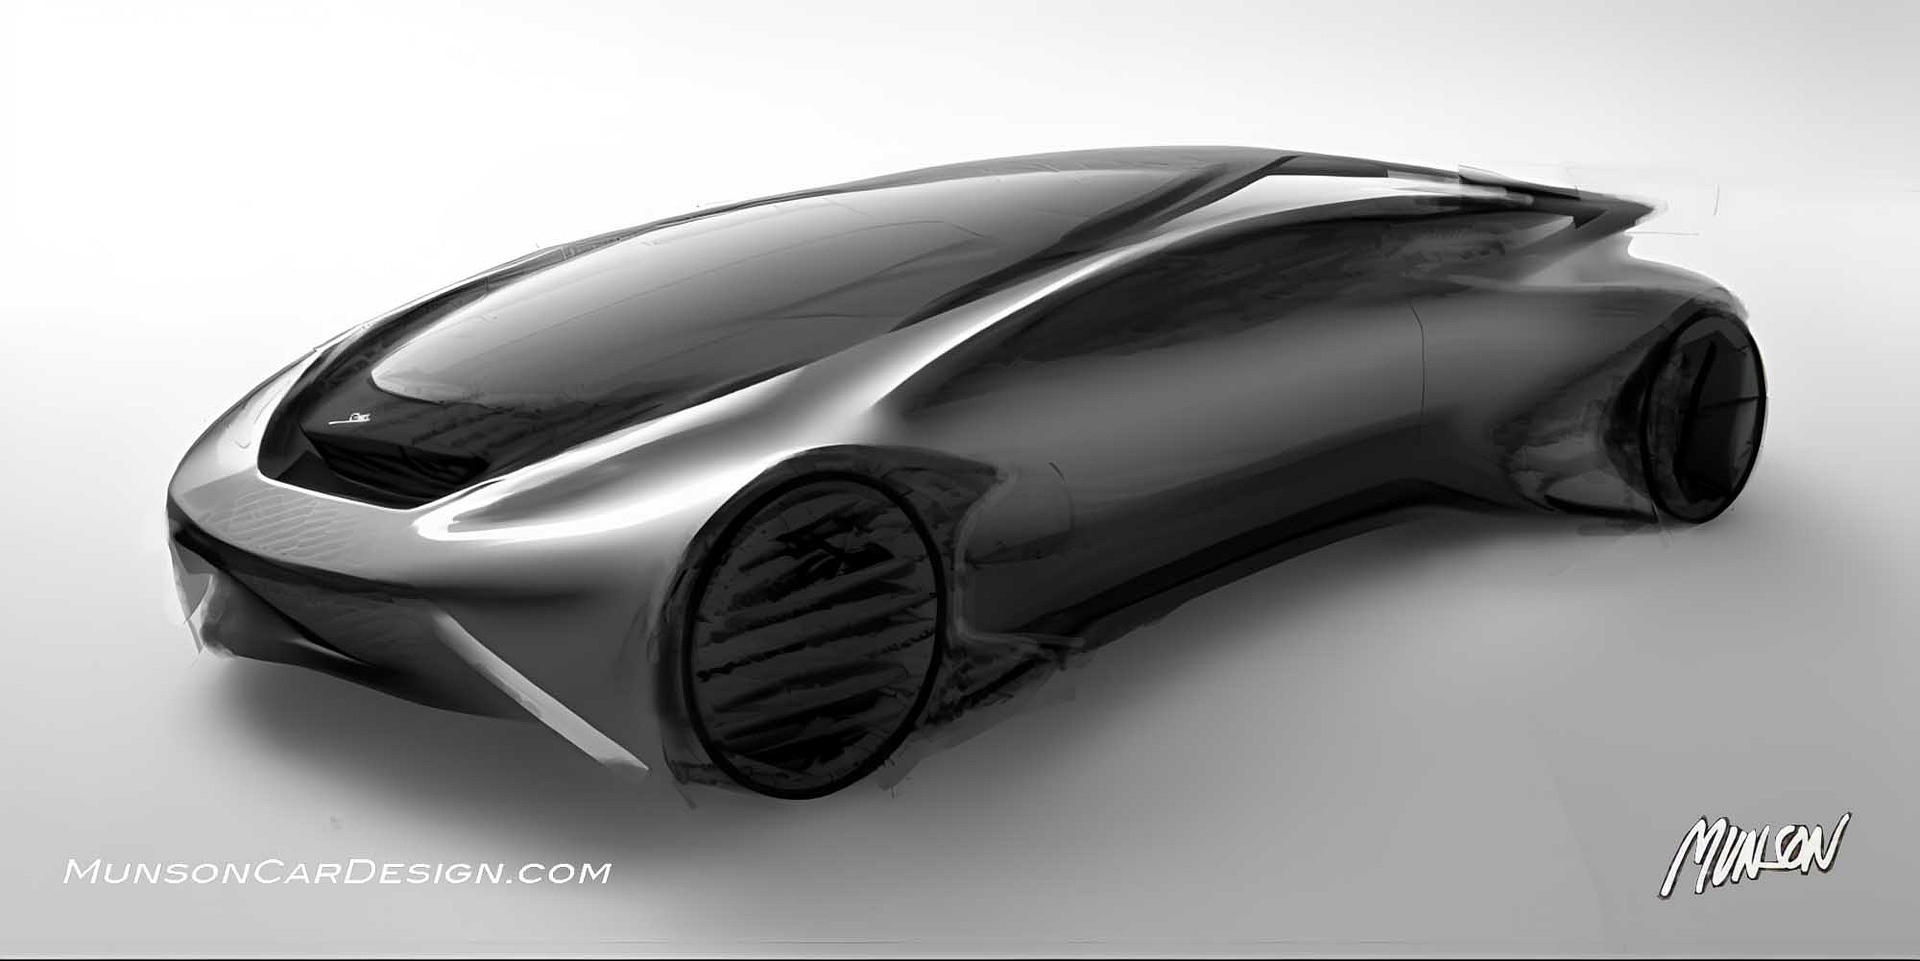
I put my original sketch into Vizcom to generate renders. I tried many of the rendering styles in the Palette selection of Vizcom to get the most variety to choose from. I had the most success with ‘Realistic Product.’
I’m constantly polishing the sketch in Photoshop, refining it and defining the theme or what I refer to as ‘polishing the stone.’ I included two early versions of the sketch to show the design progression. Note the unfinished rear quarter glass area in the silver sketch which wasn’t figured out yet. As rough as it is, you can see the design taking shape.
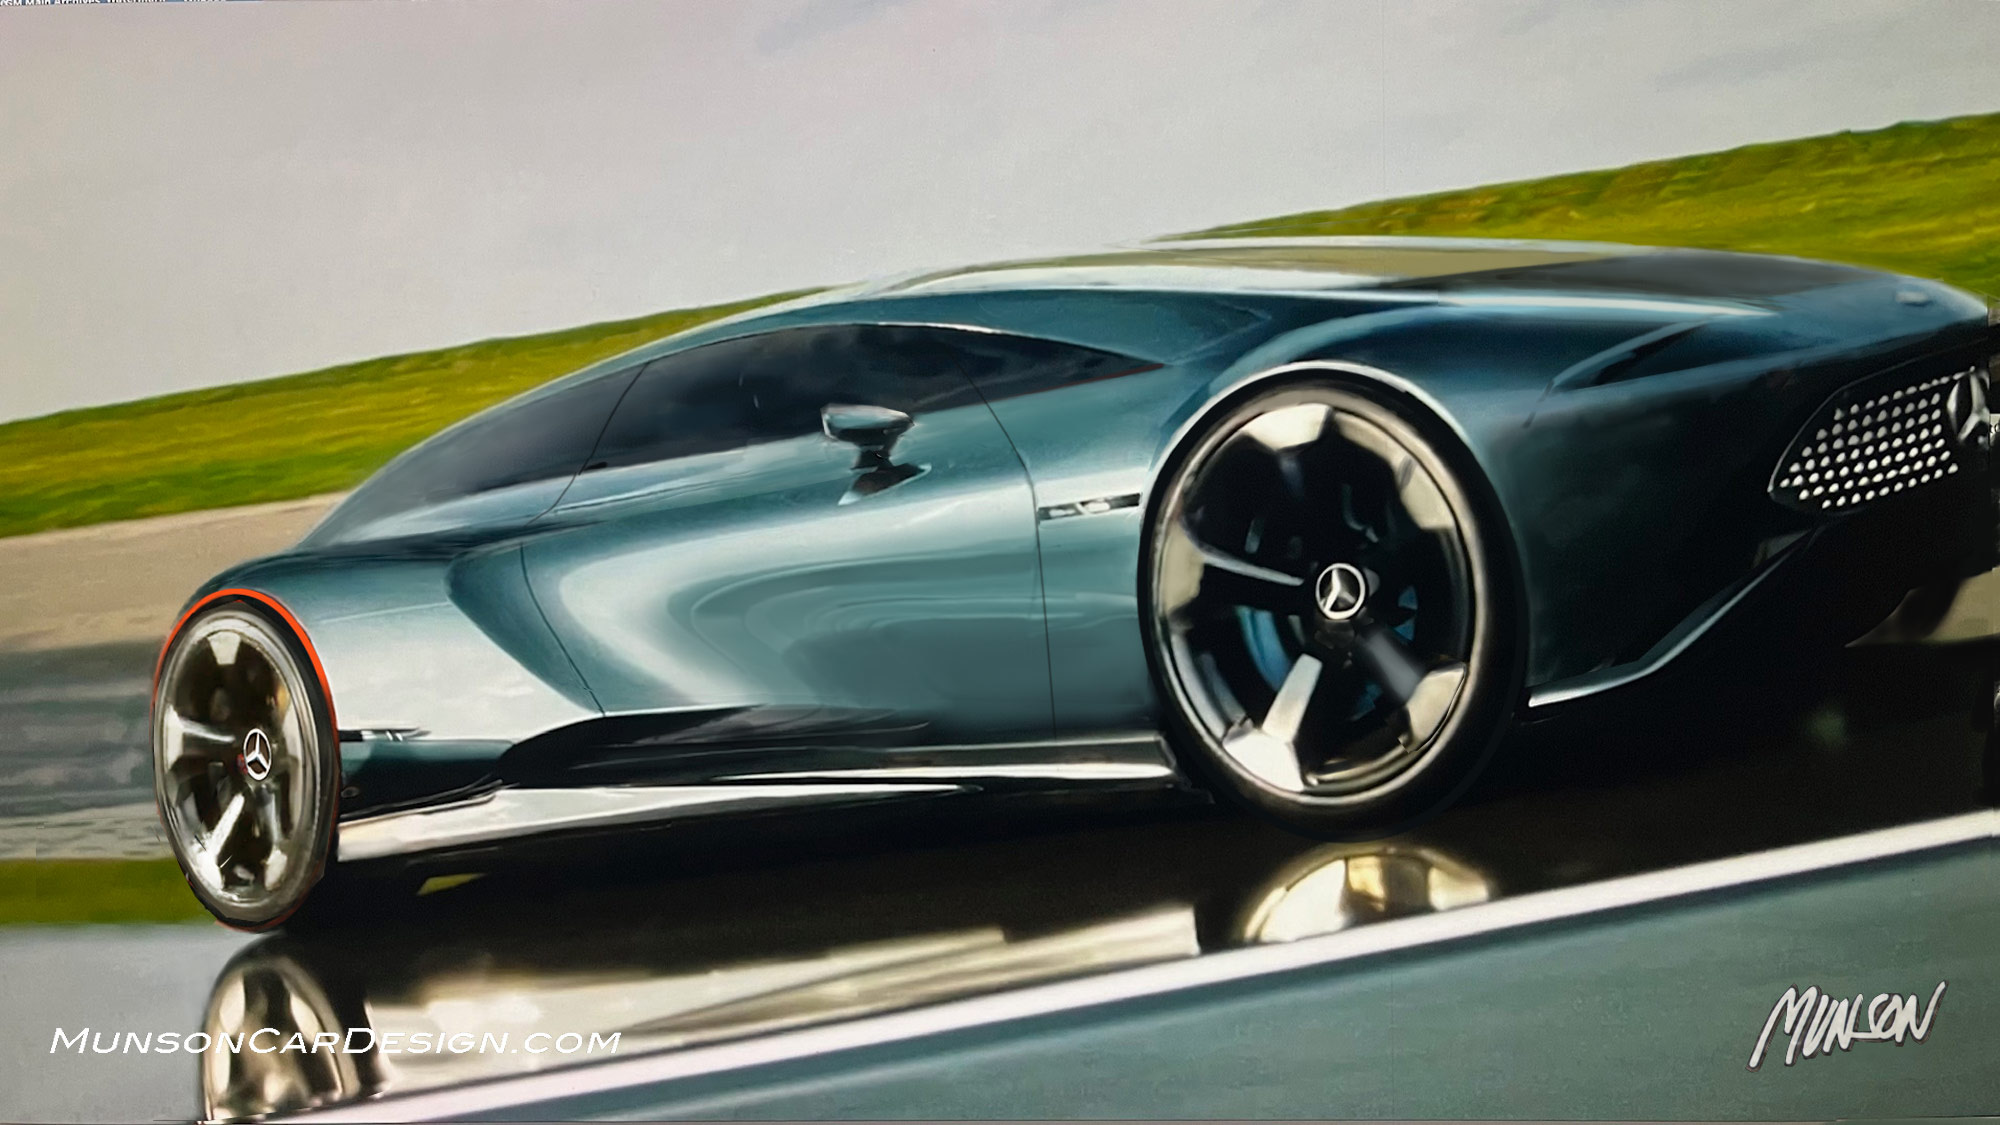
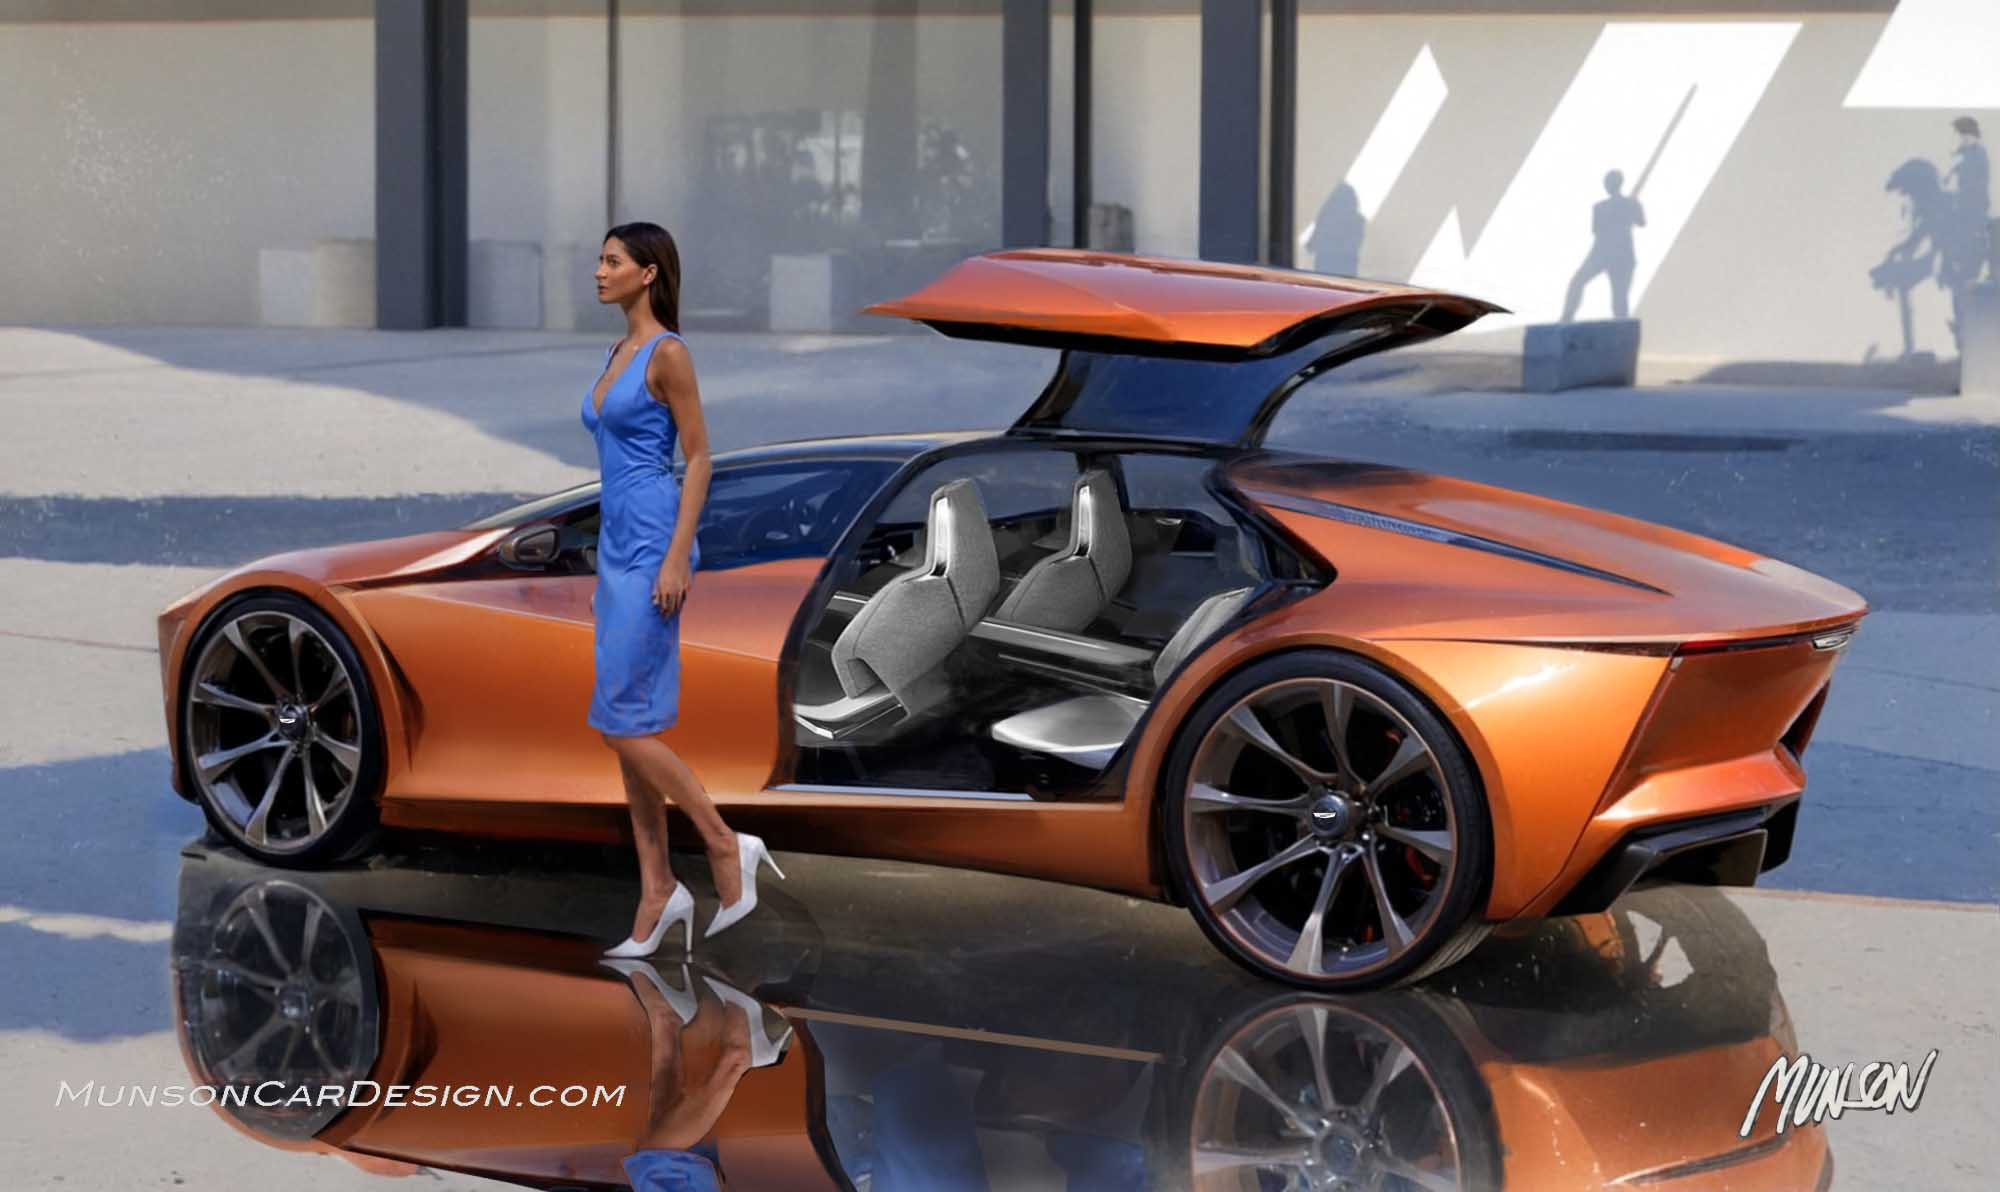
As the exterior evolved, I realized that the sleekness of the design combined with the functionality would make for a natural shooting brake. I later decided that the soft forms of the design lended itself to the Mercedes brand. Obviously, vision would be affected by the thick ‘A’ pillars. I wasn’t worried about it since it’s an autonomous vehicle.
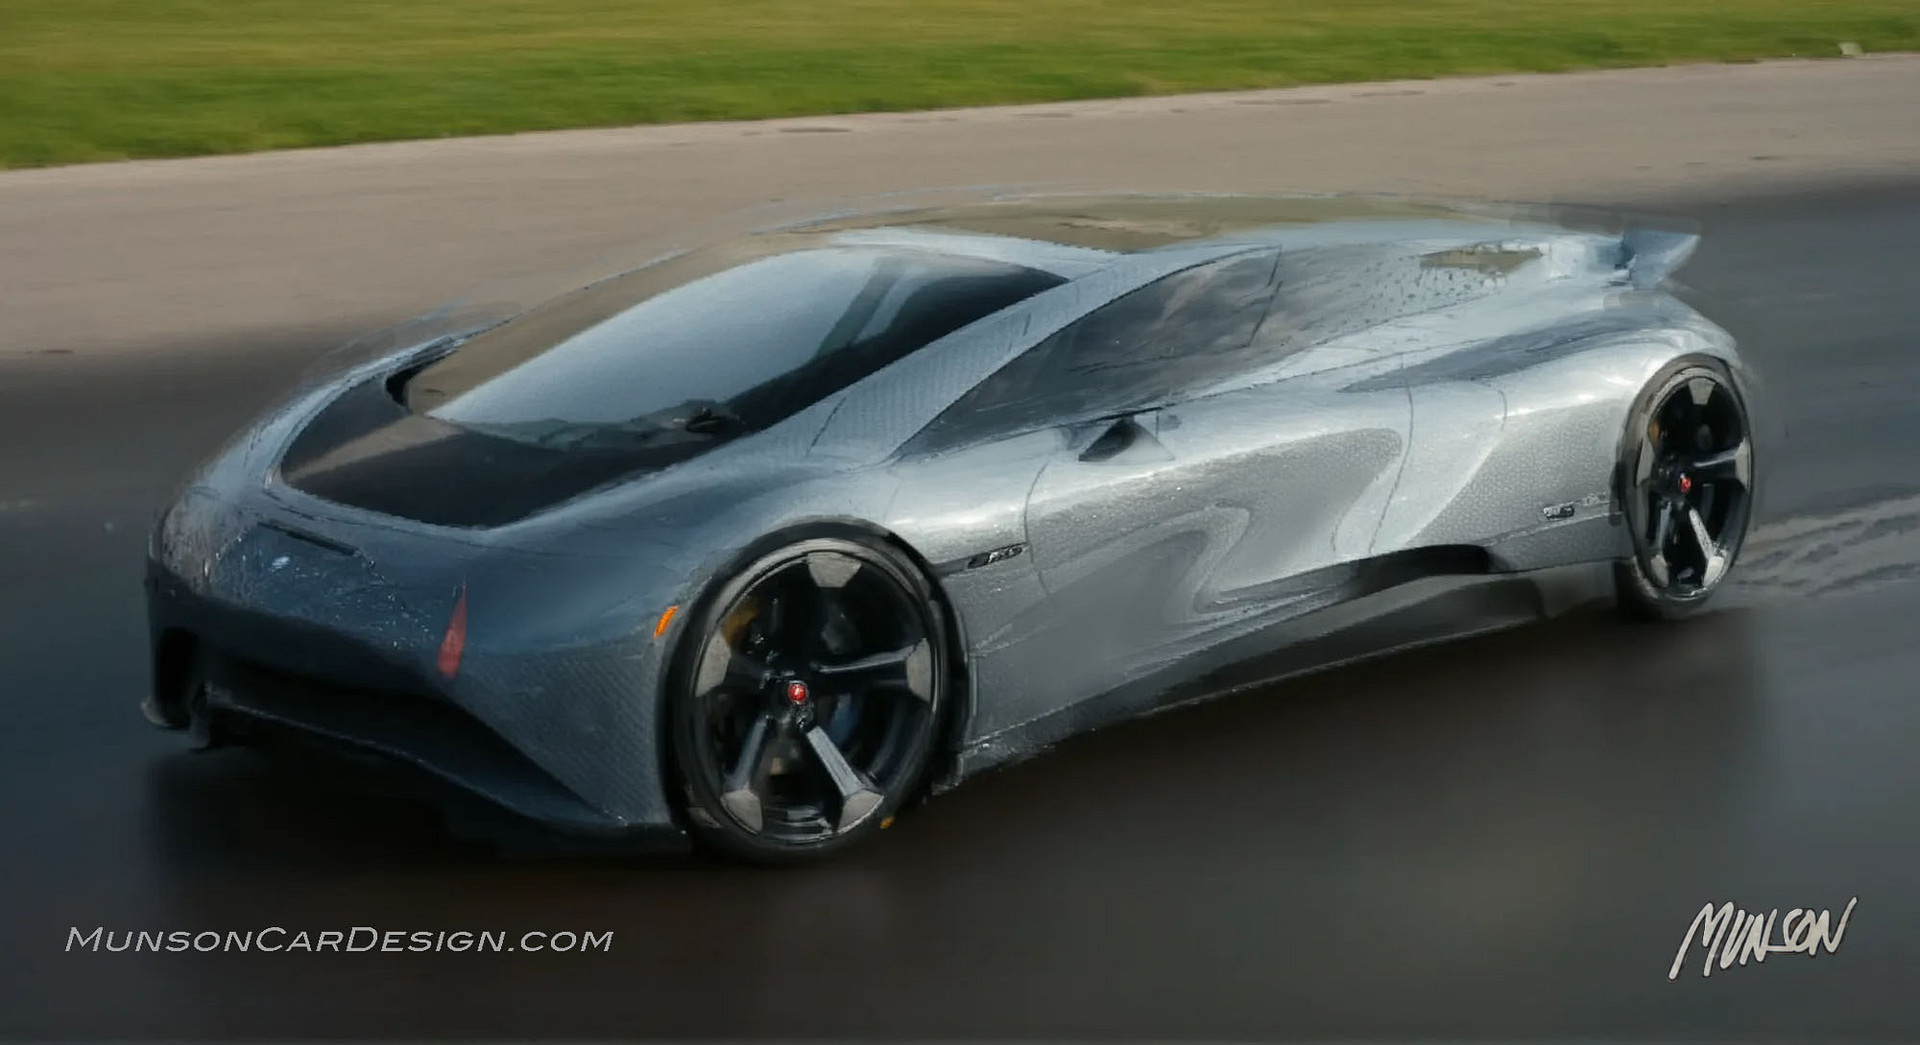
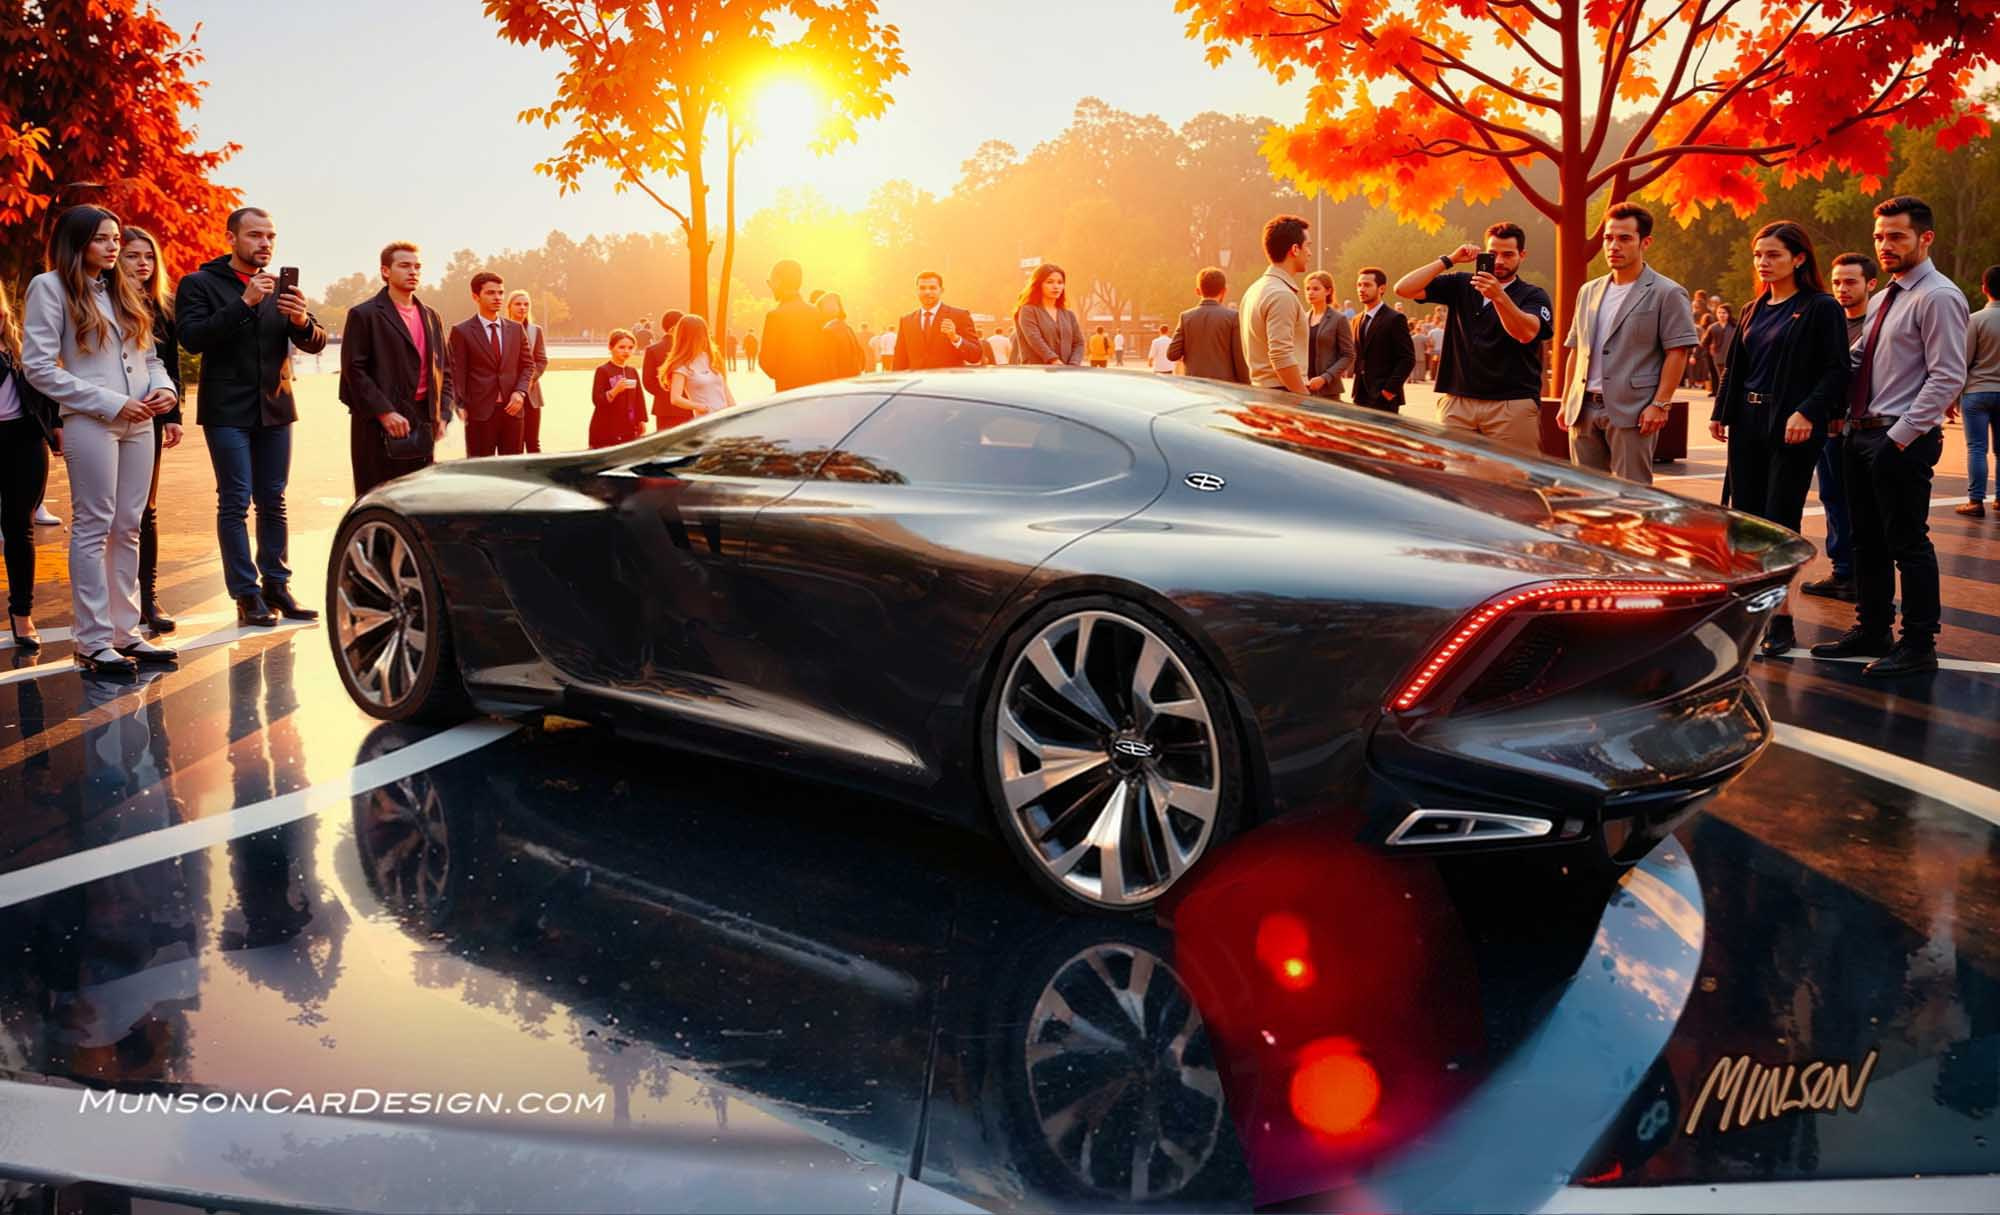
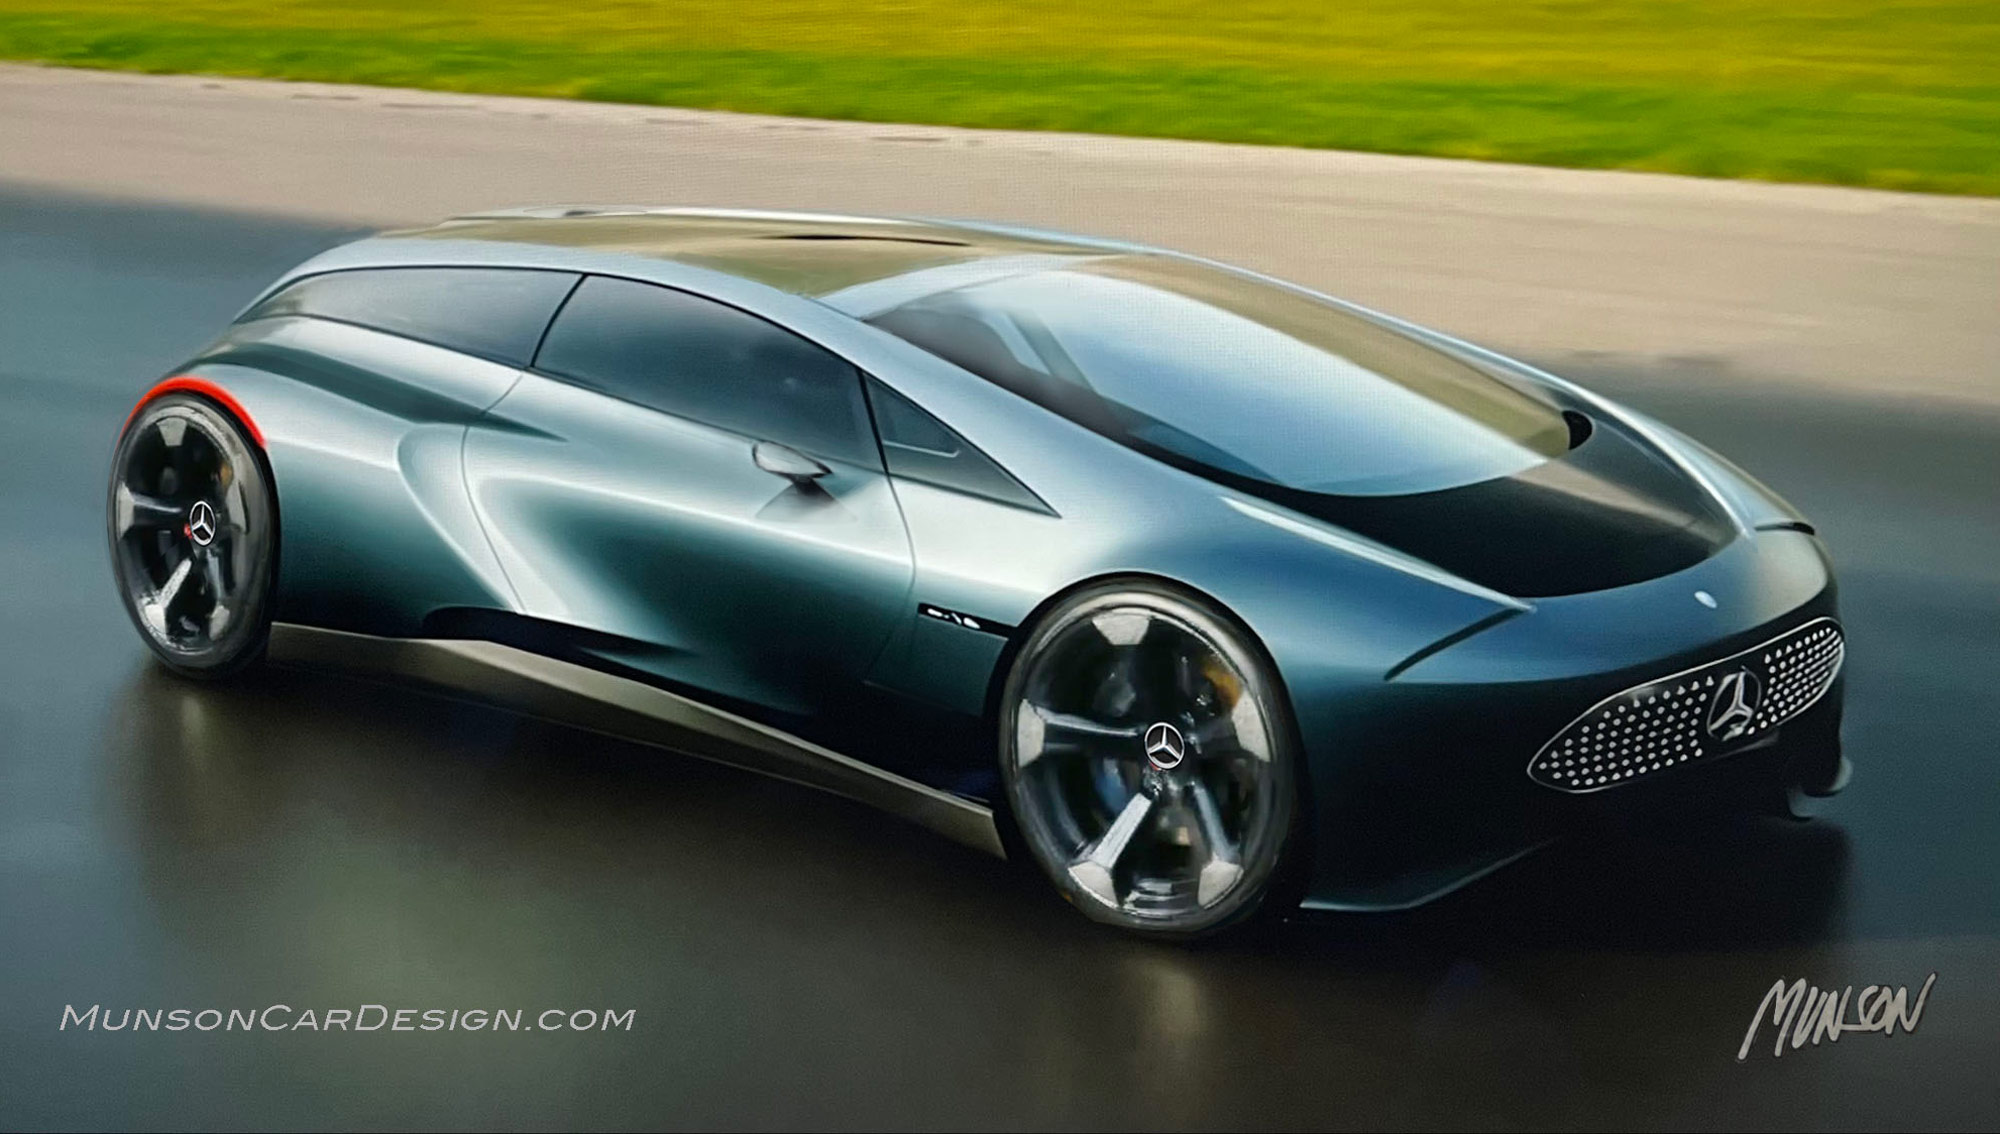
I immediately had great results for AI videos generated using ChatGPT Sora and Runway ML. I like how dramatic the Sora videos are. The AI video quality of Runway always improves my renderings so I used a still frame from the video for the featured image in this post. I elevate the AI videos by editing out the first few video frames using clipchamp.com. The early videos start with my Photoshopped version which is immediately improved by Runway.
I edit the videos further on Clipchamp by trimming and removing the part that I don’t like. Often, the AI morphs into very weird shapes or distortions. I then modify the speed of the video by slowing it down to make it run longer. I then string together several videos with the Adobe express.com merge videos tool.
I used the featured image to create more videos. I use AI to continuously improve my design and renderings through all stages of the design development process by going back and forth between Vizcom, Sora and Runway. I use Photoshop to combine the best versions of each.
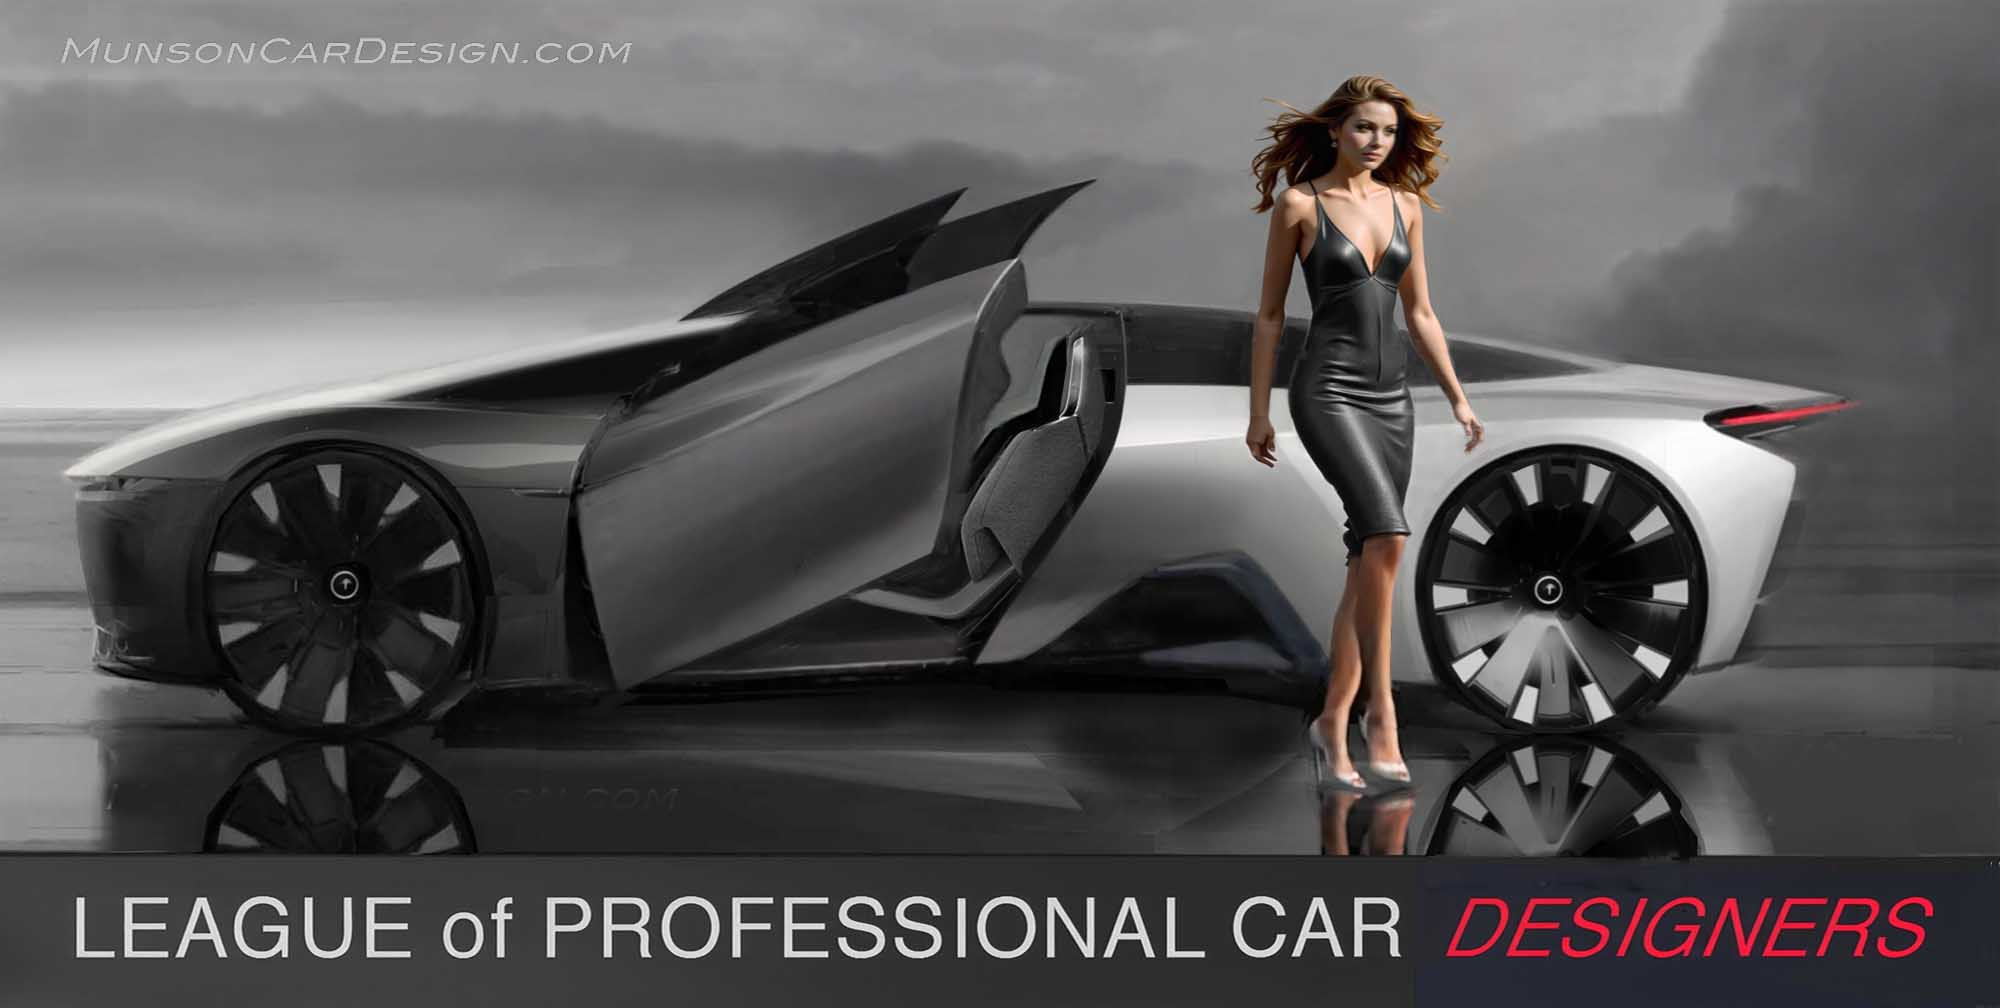
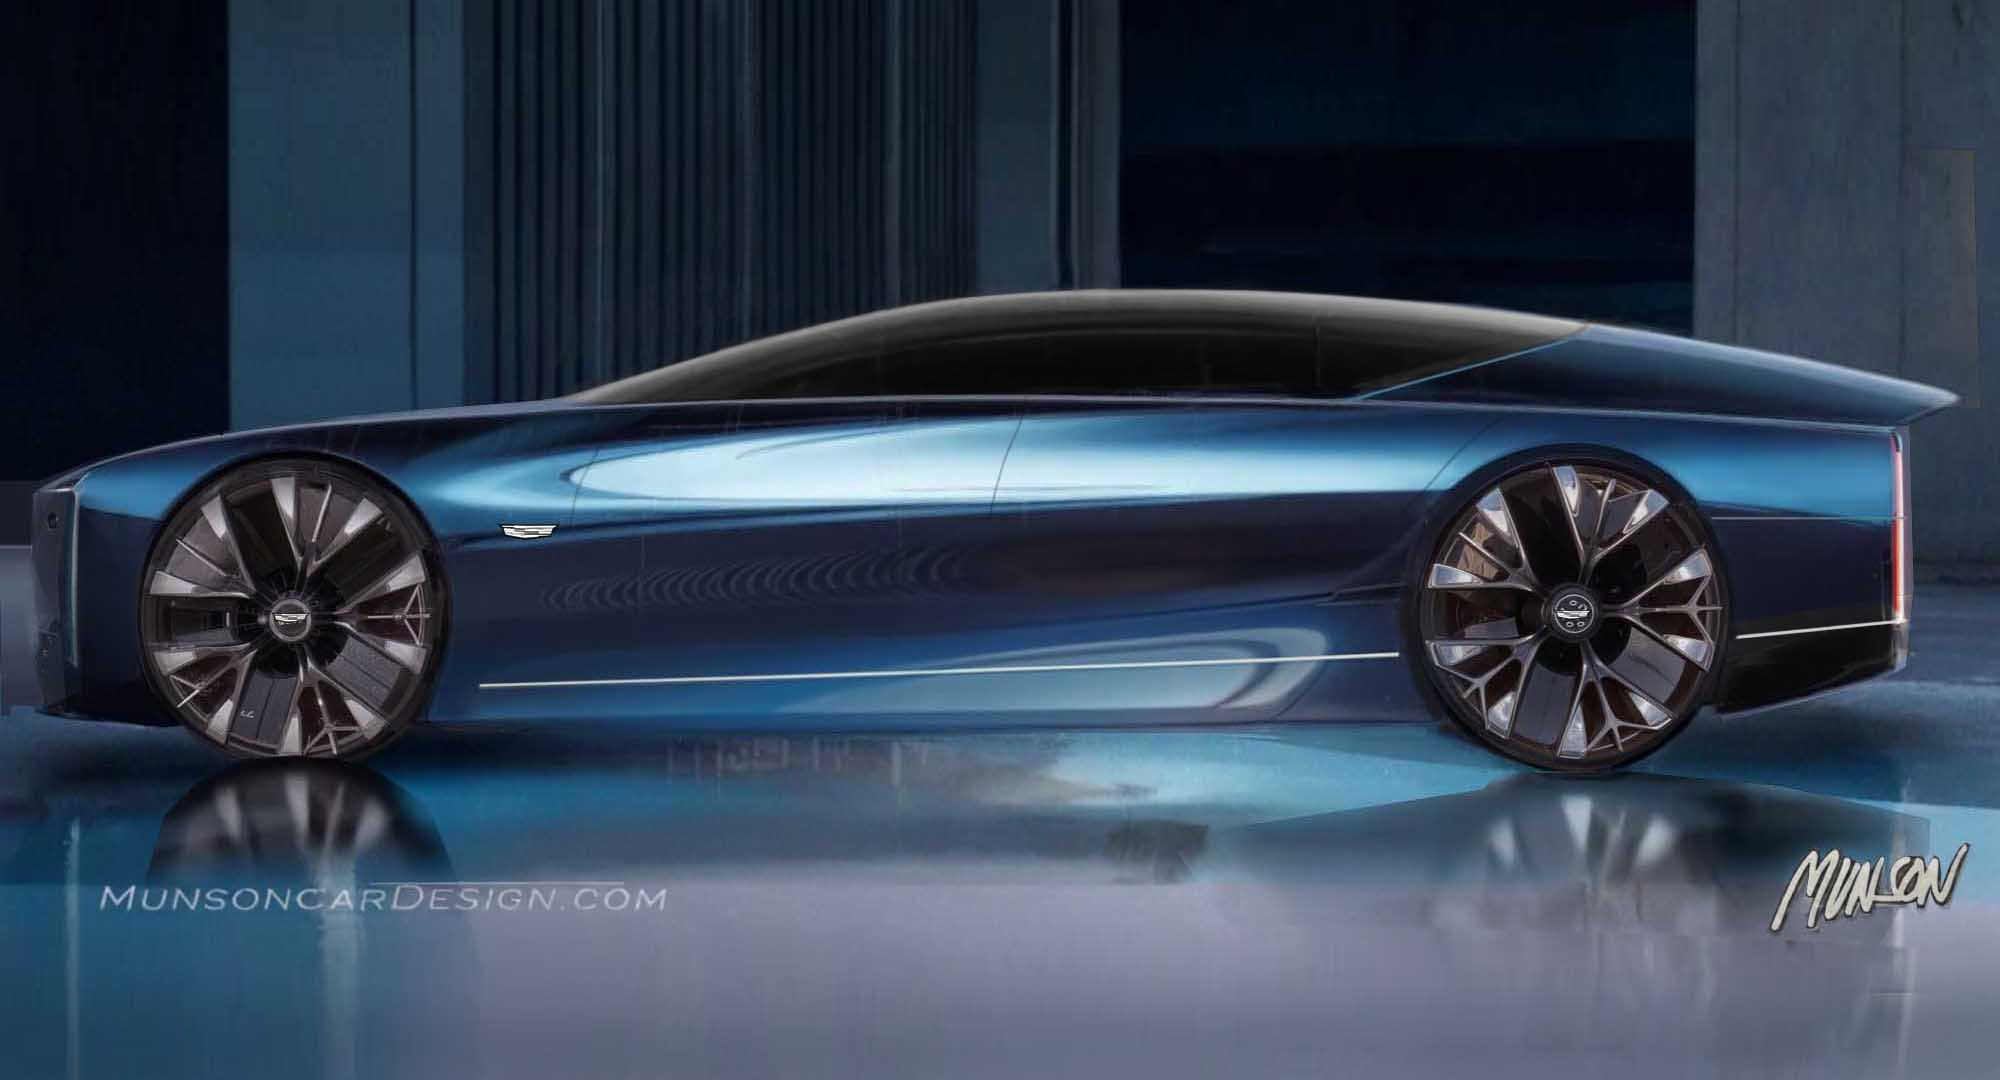
The last 3 images in this post are still frames from Runway and Sora videos with considerable Photoshopping of the Sora videos.