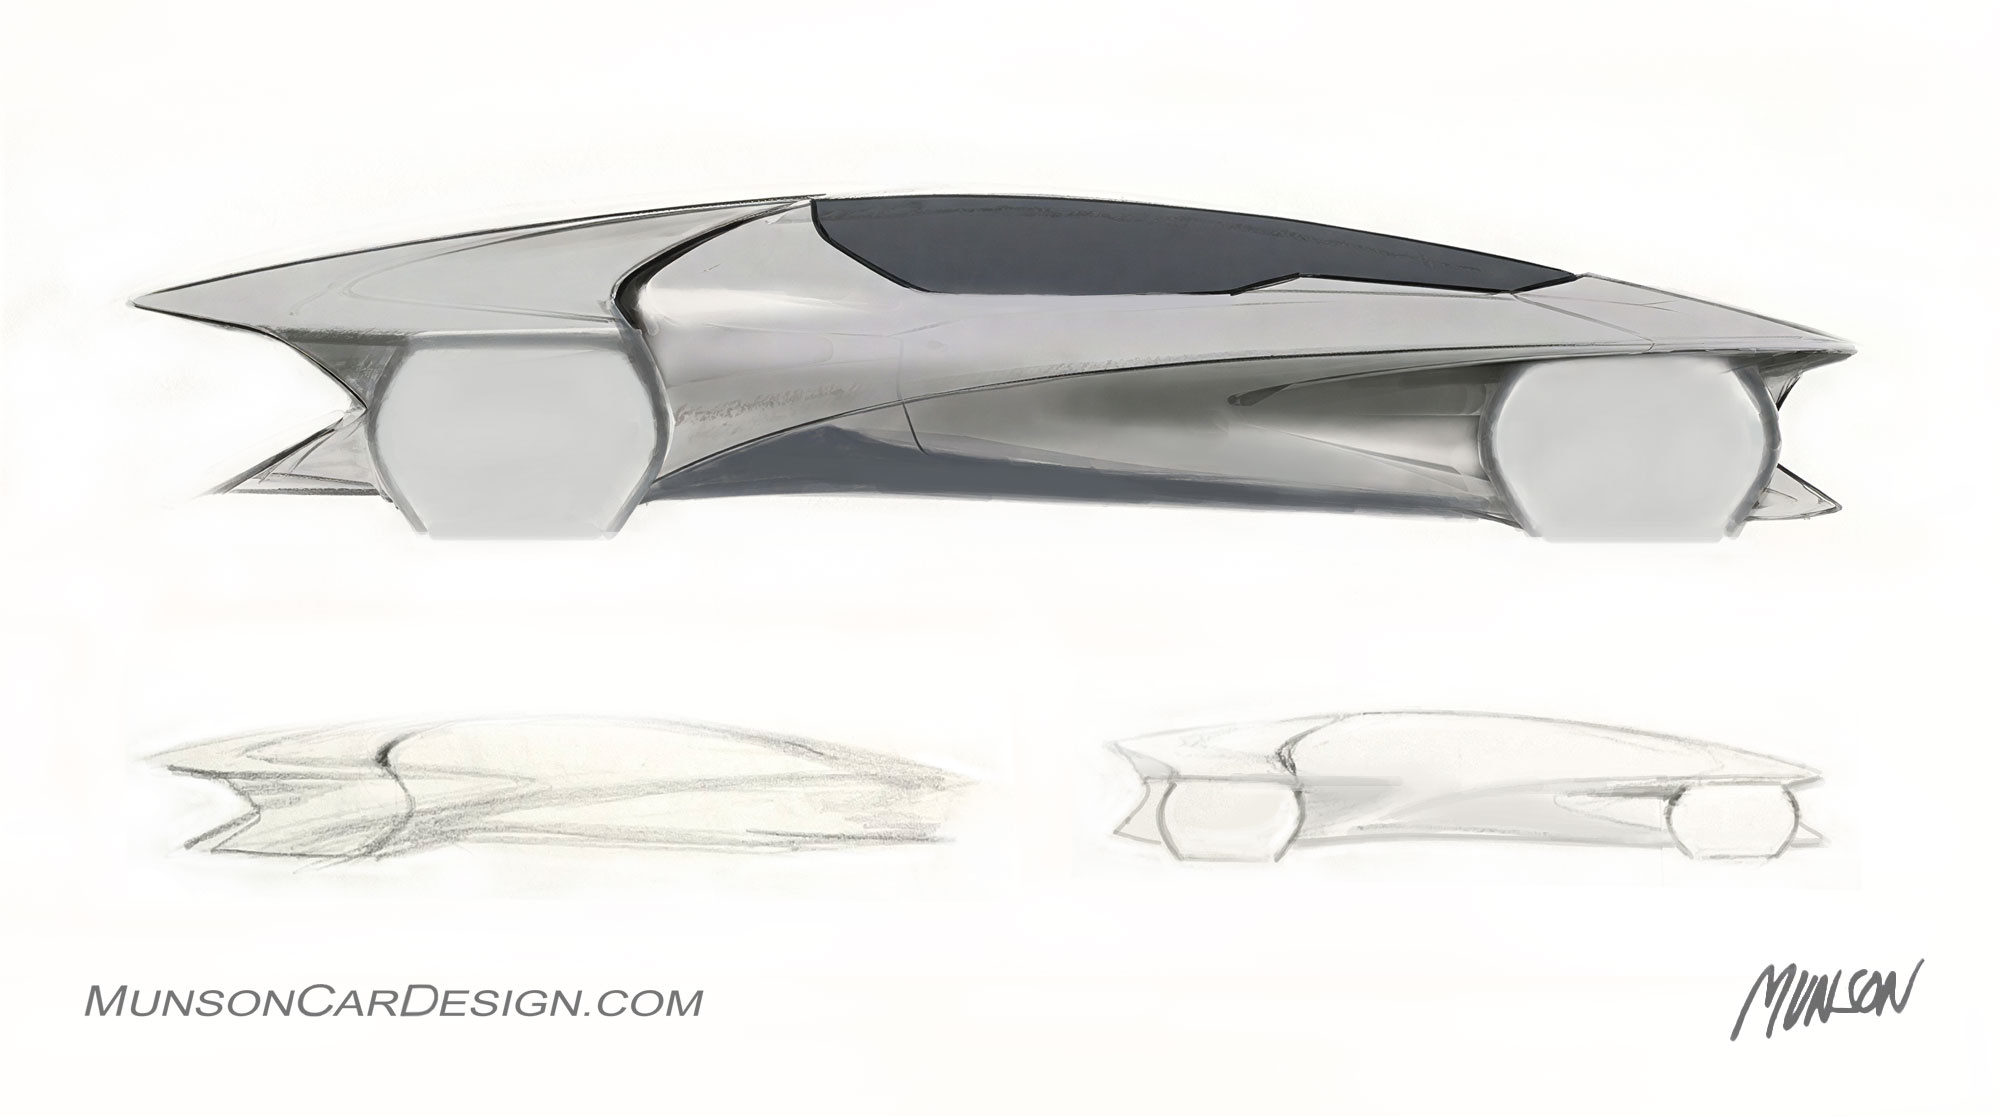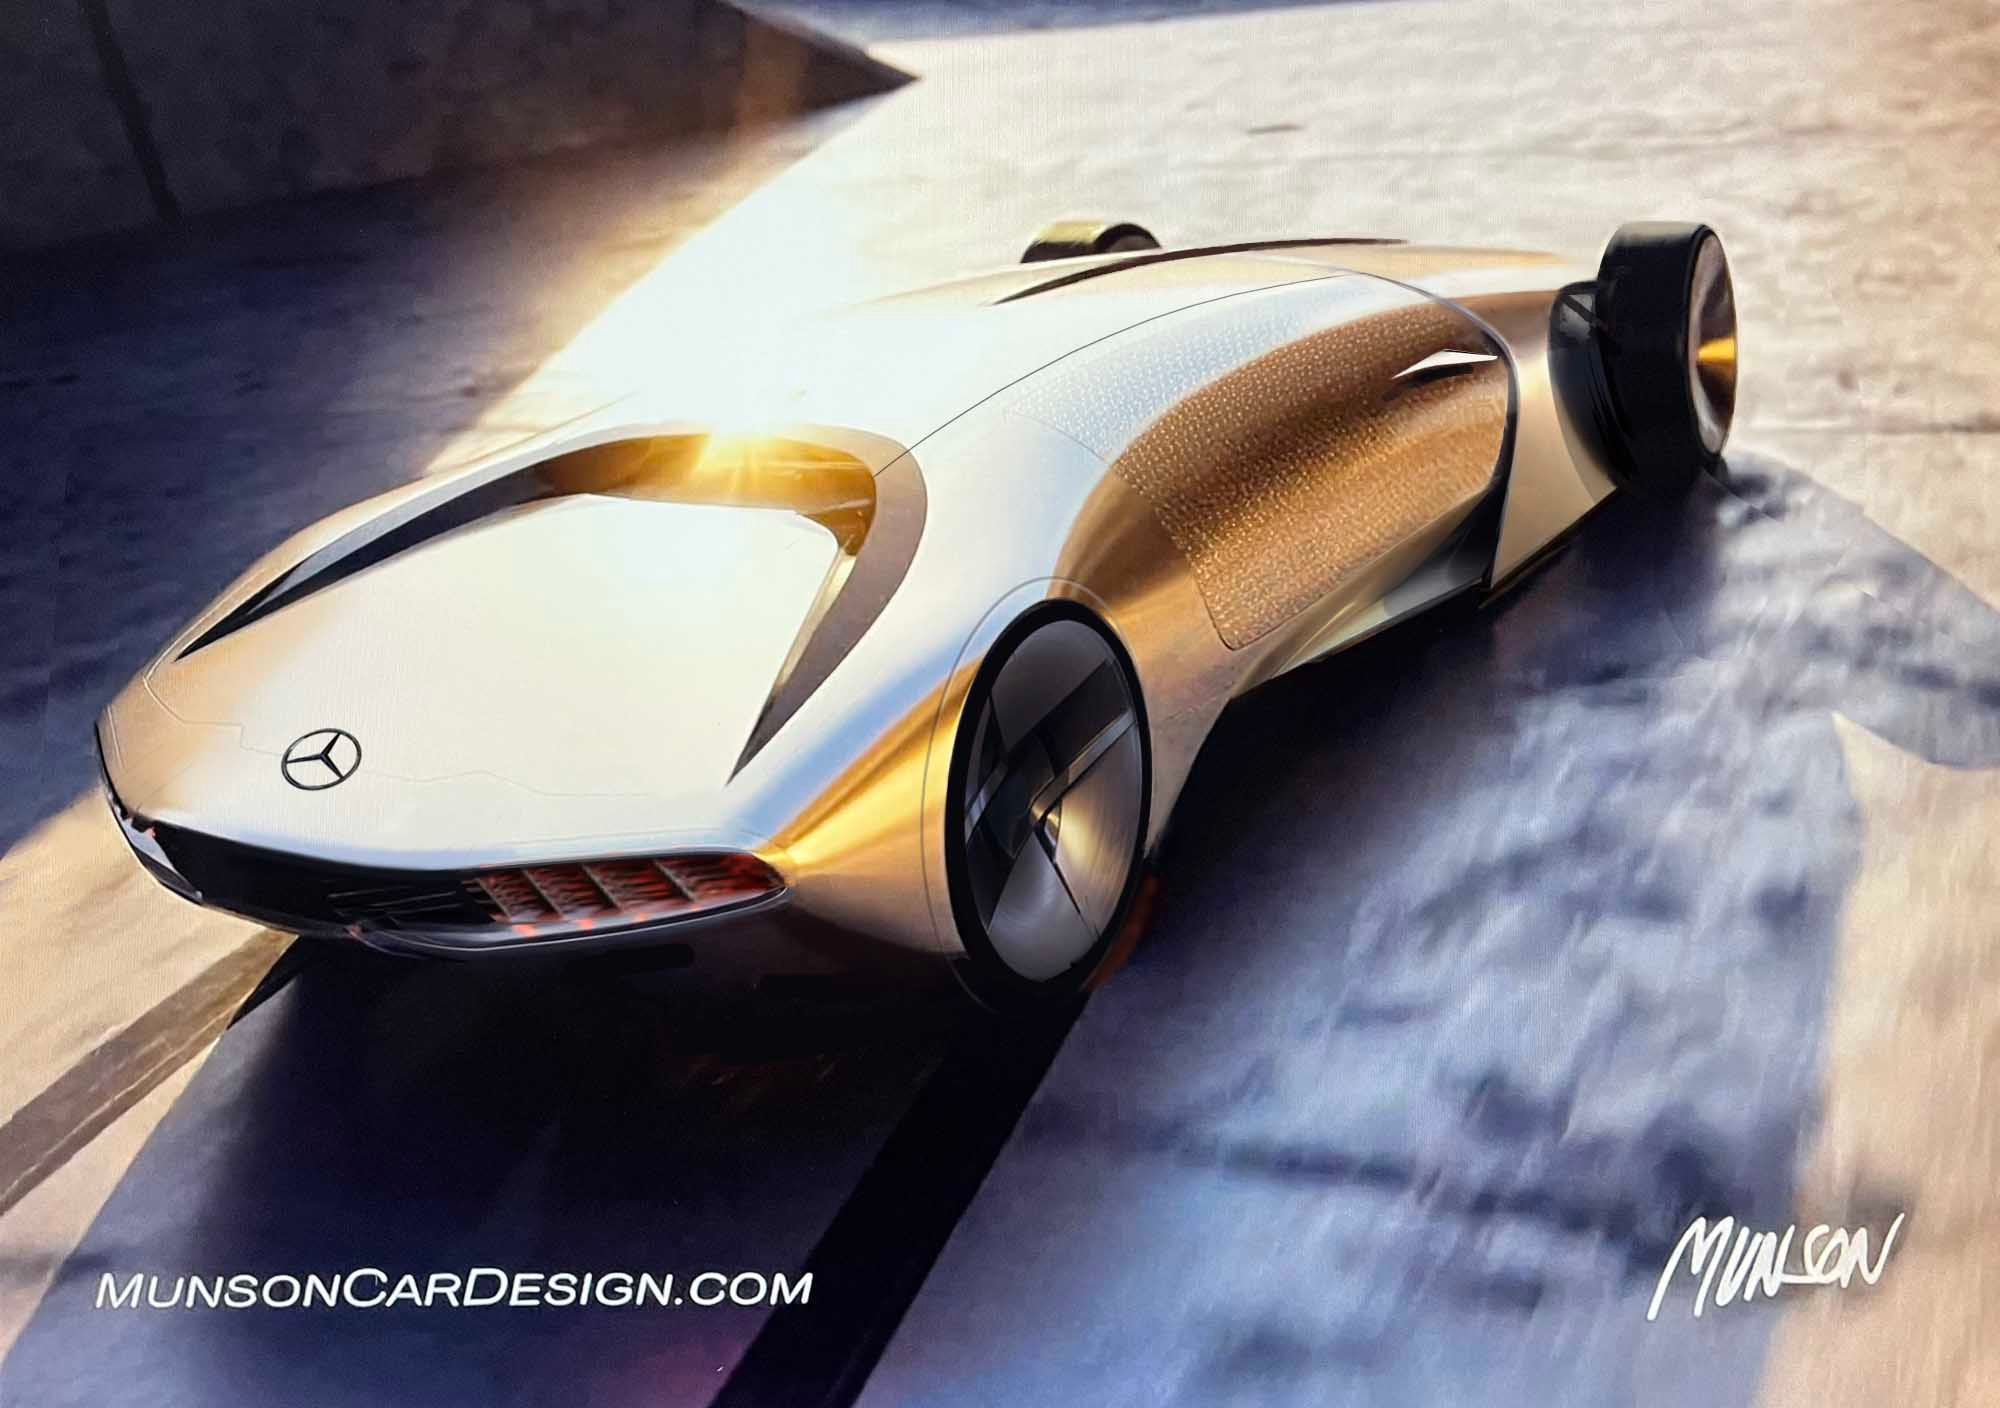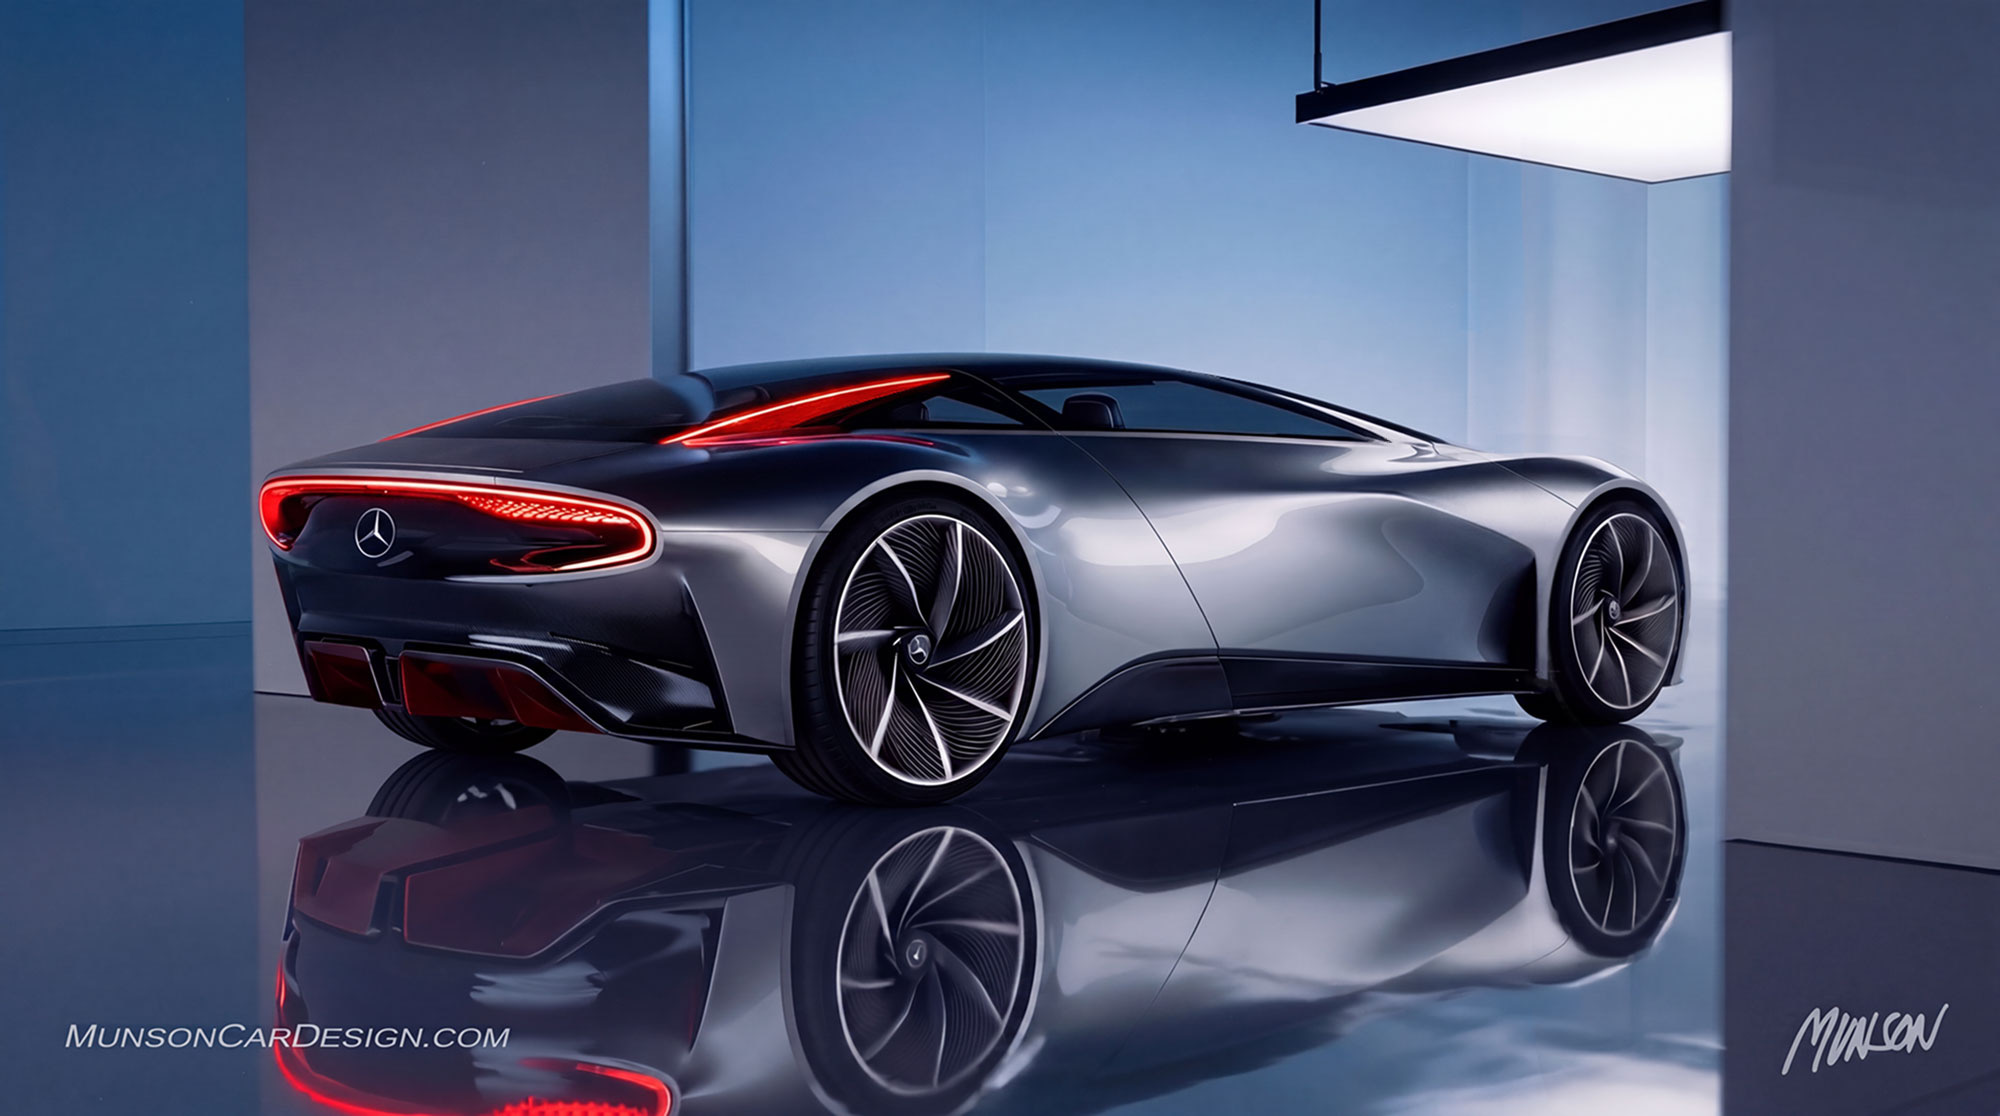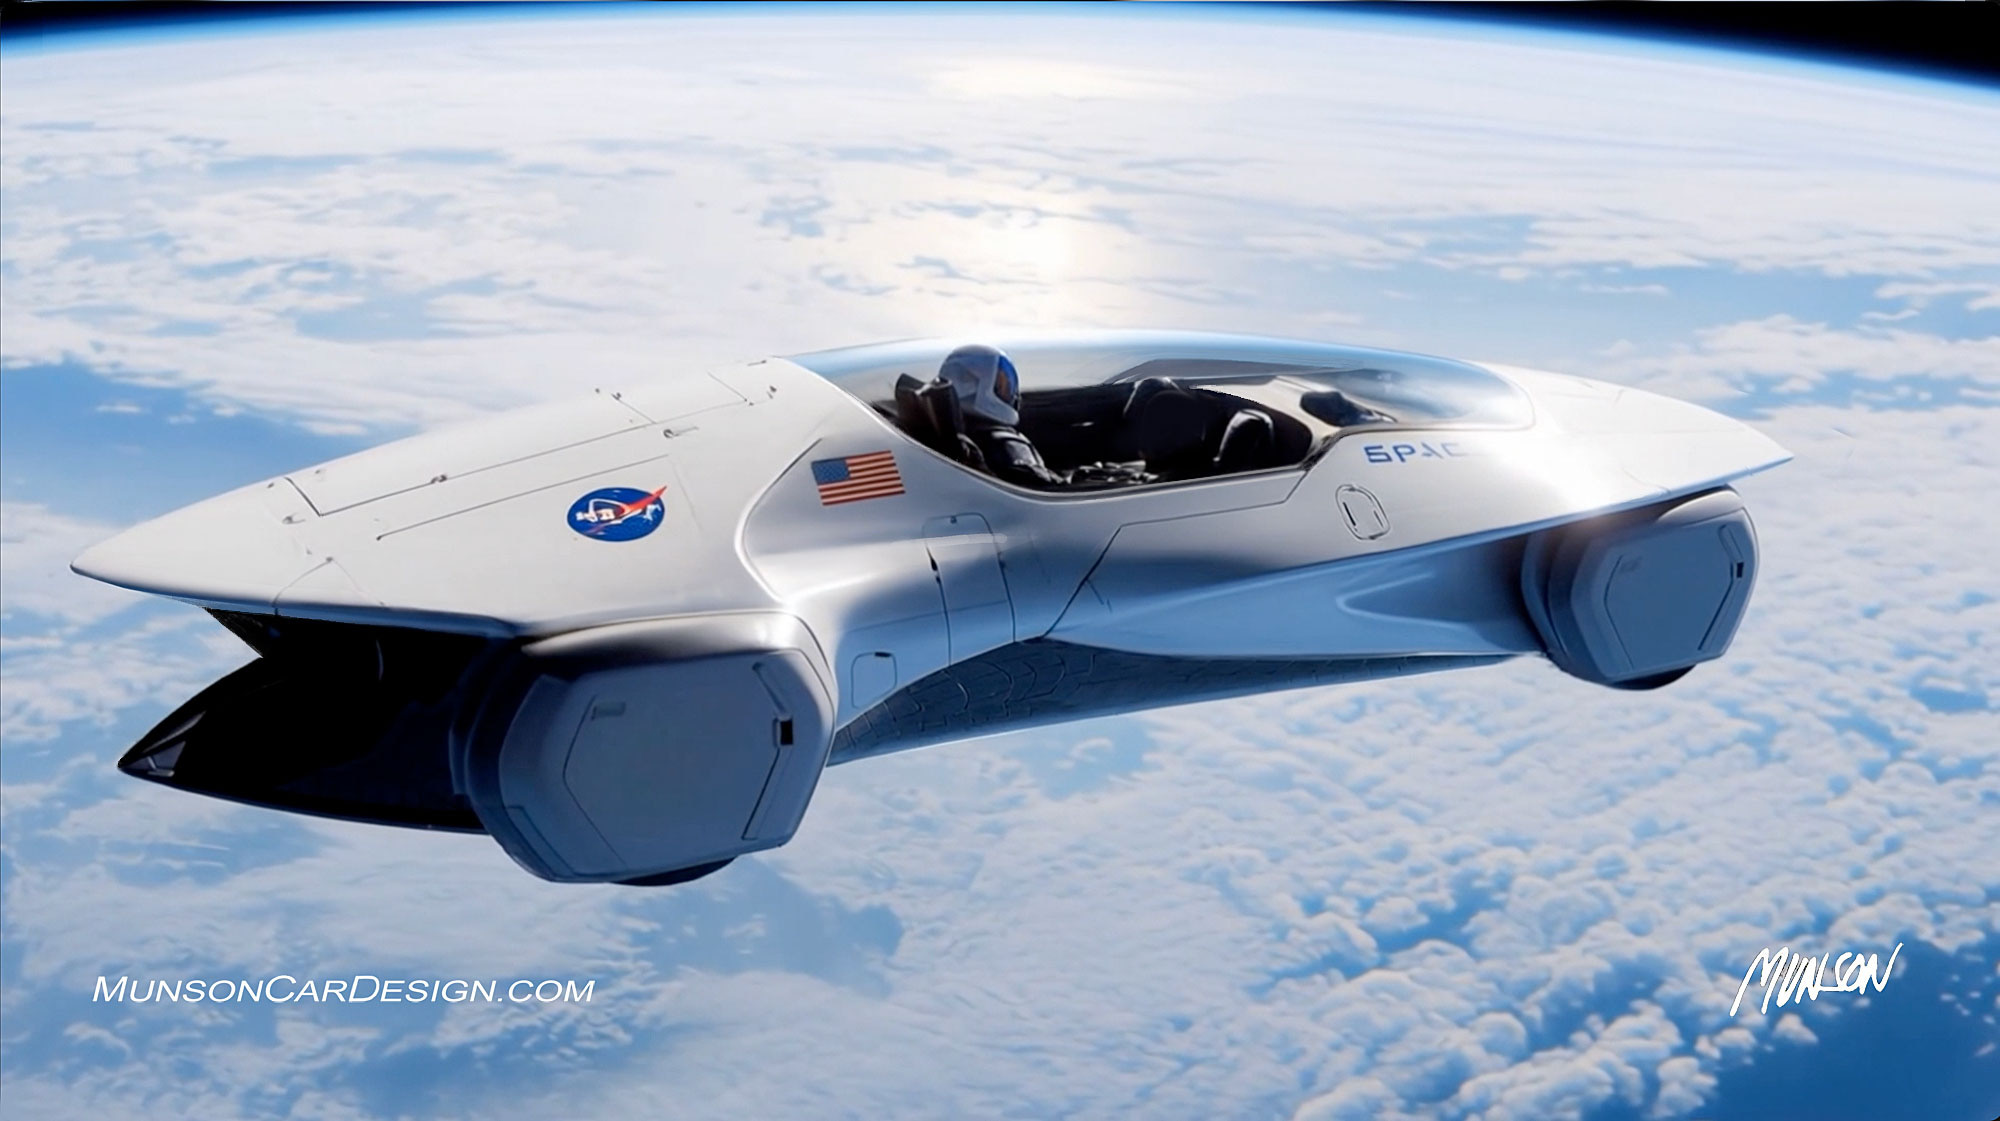
This is one of my more outrageous design concepts. I started with a sleek, speed-inspired form and challenged myself to incorporate fully covered wheels. To make it work, I sculpted a concave shape into the front fender to provide clearance for the turning wheels. The covered wheels were more of a design challenge than a practical necessity, but that was part of the fun.
The two small pencil sketches beneath the Photoshop rendering were my original thought starters. Each is only three inches wide. I often find that working small makes it easier to imagine the entire design and explore the overall form without getting caught up in the details.
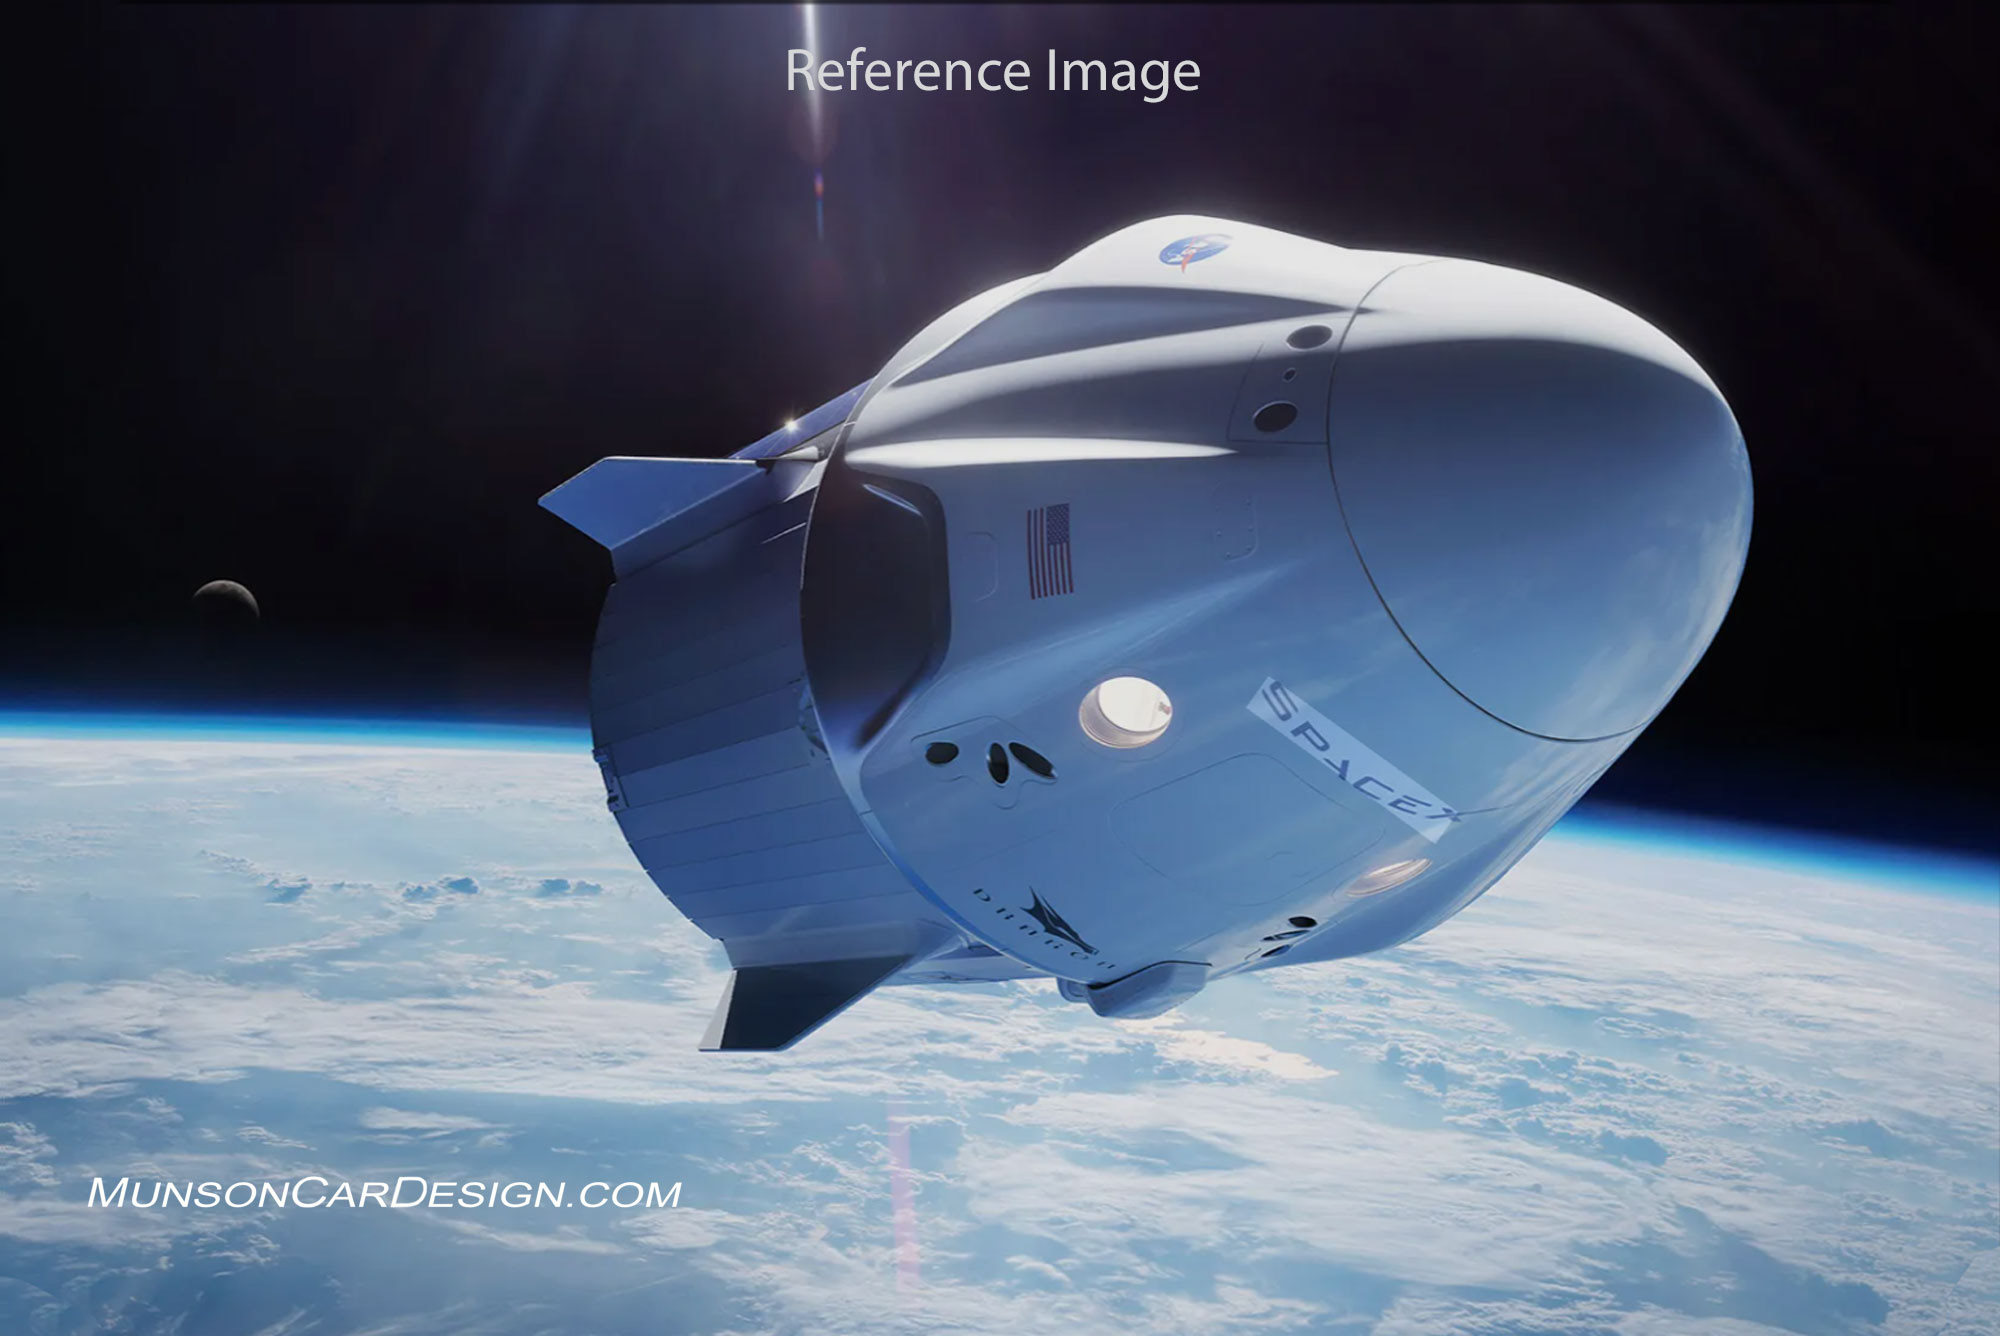
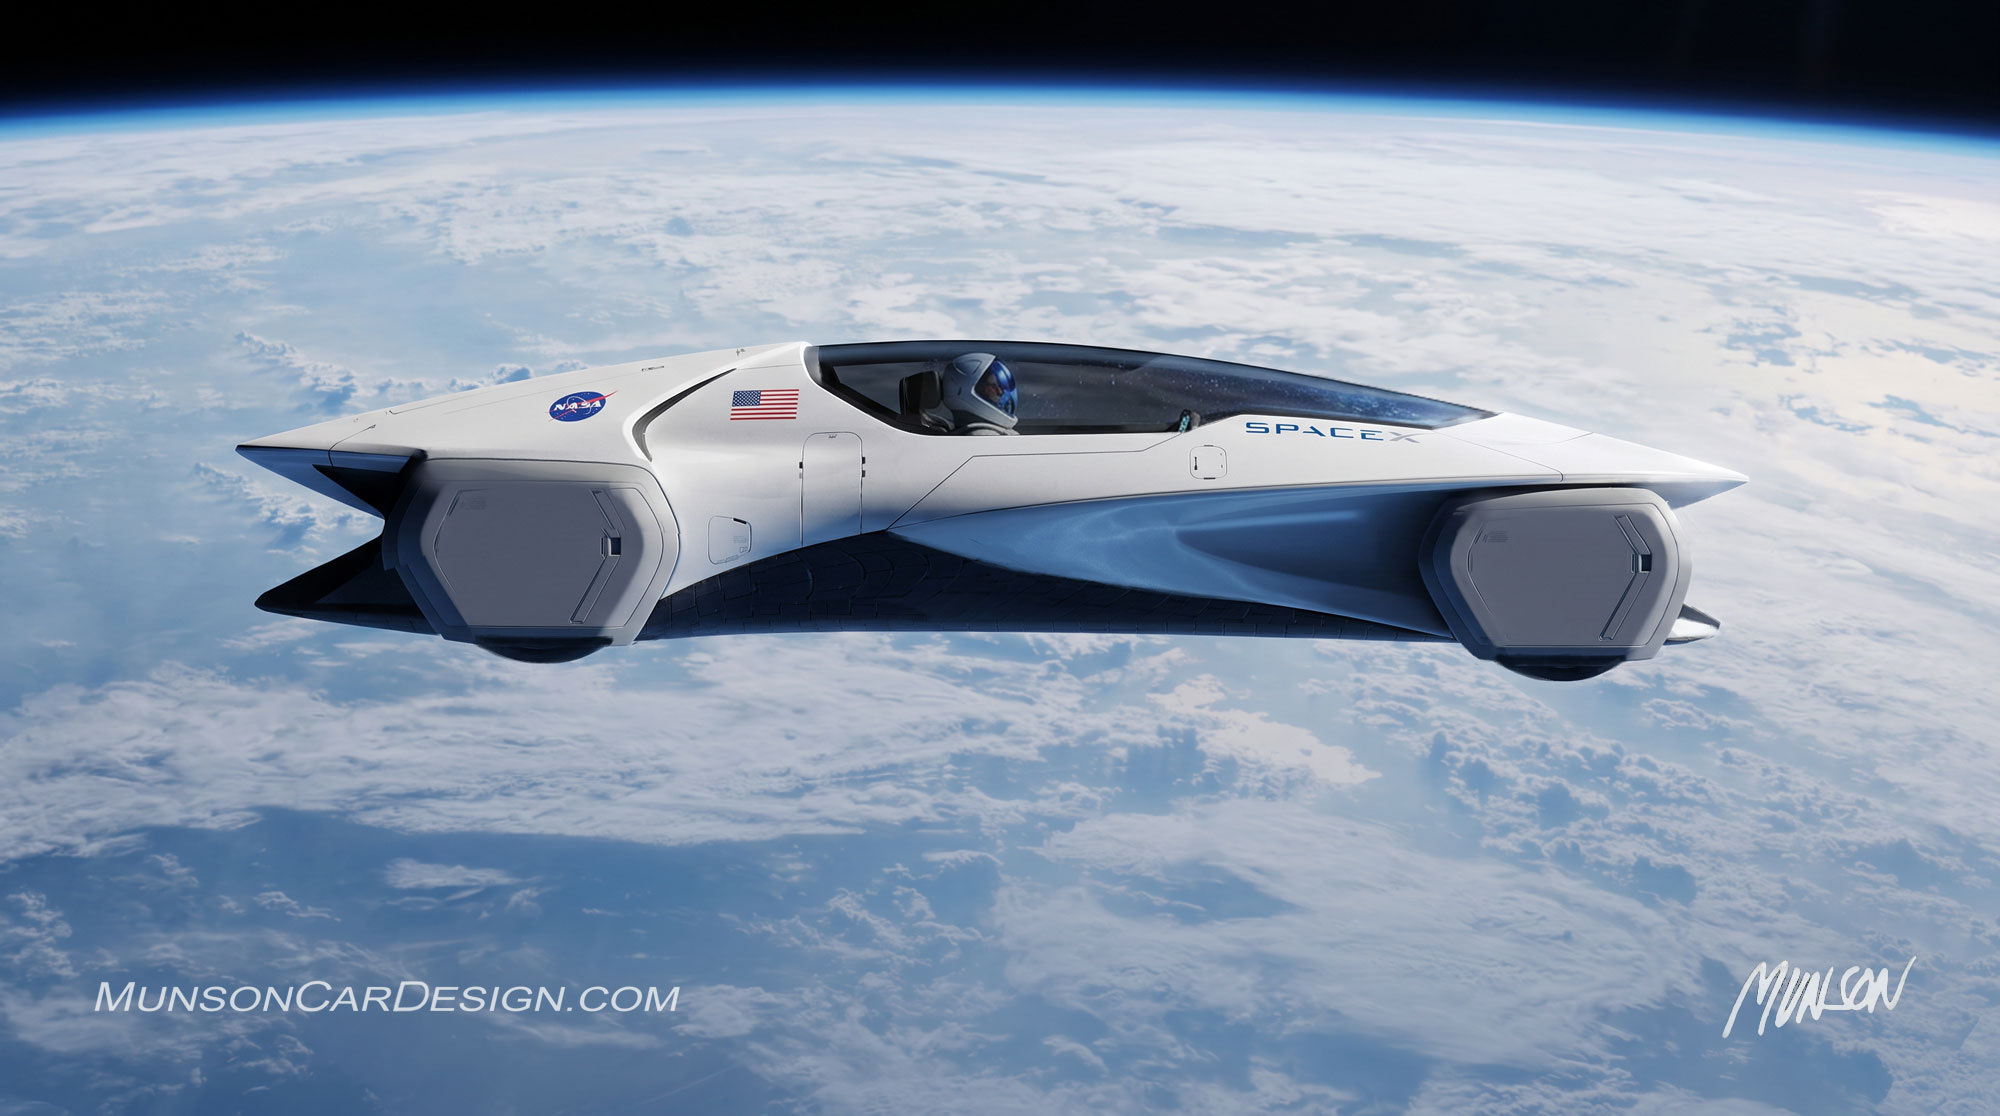
When it came time to develop a background, I had a rather outrageous idea: Why not put the car into orbit around Earth? I found a great photo of a SpaceX capsule to use as a reference in Vizcom. Perhaps I was thinking about Elon Musk’s Tesla Roadster, which was launched into space as a payload. The idea of a car orbiting Earth made me laugh, but it also made the project that much more entertaining. And with Vizcom ready for the challenge, why not give it a try?
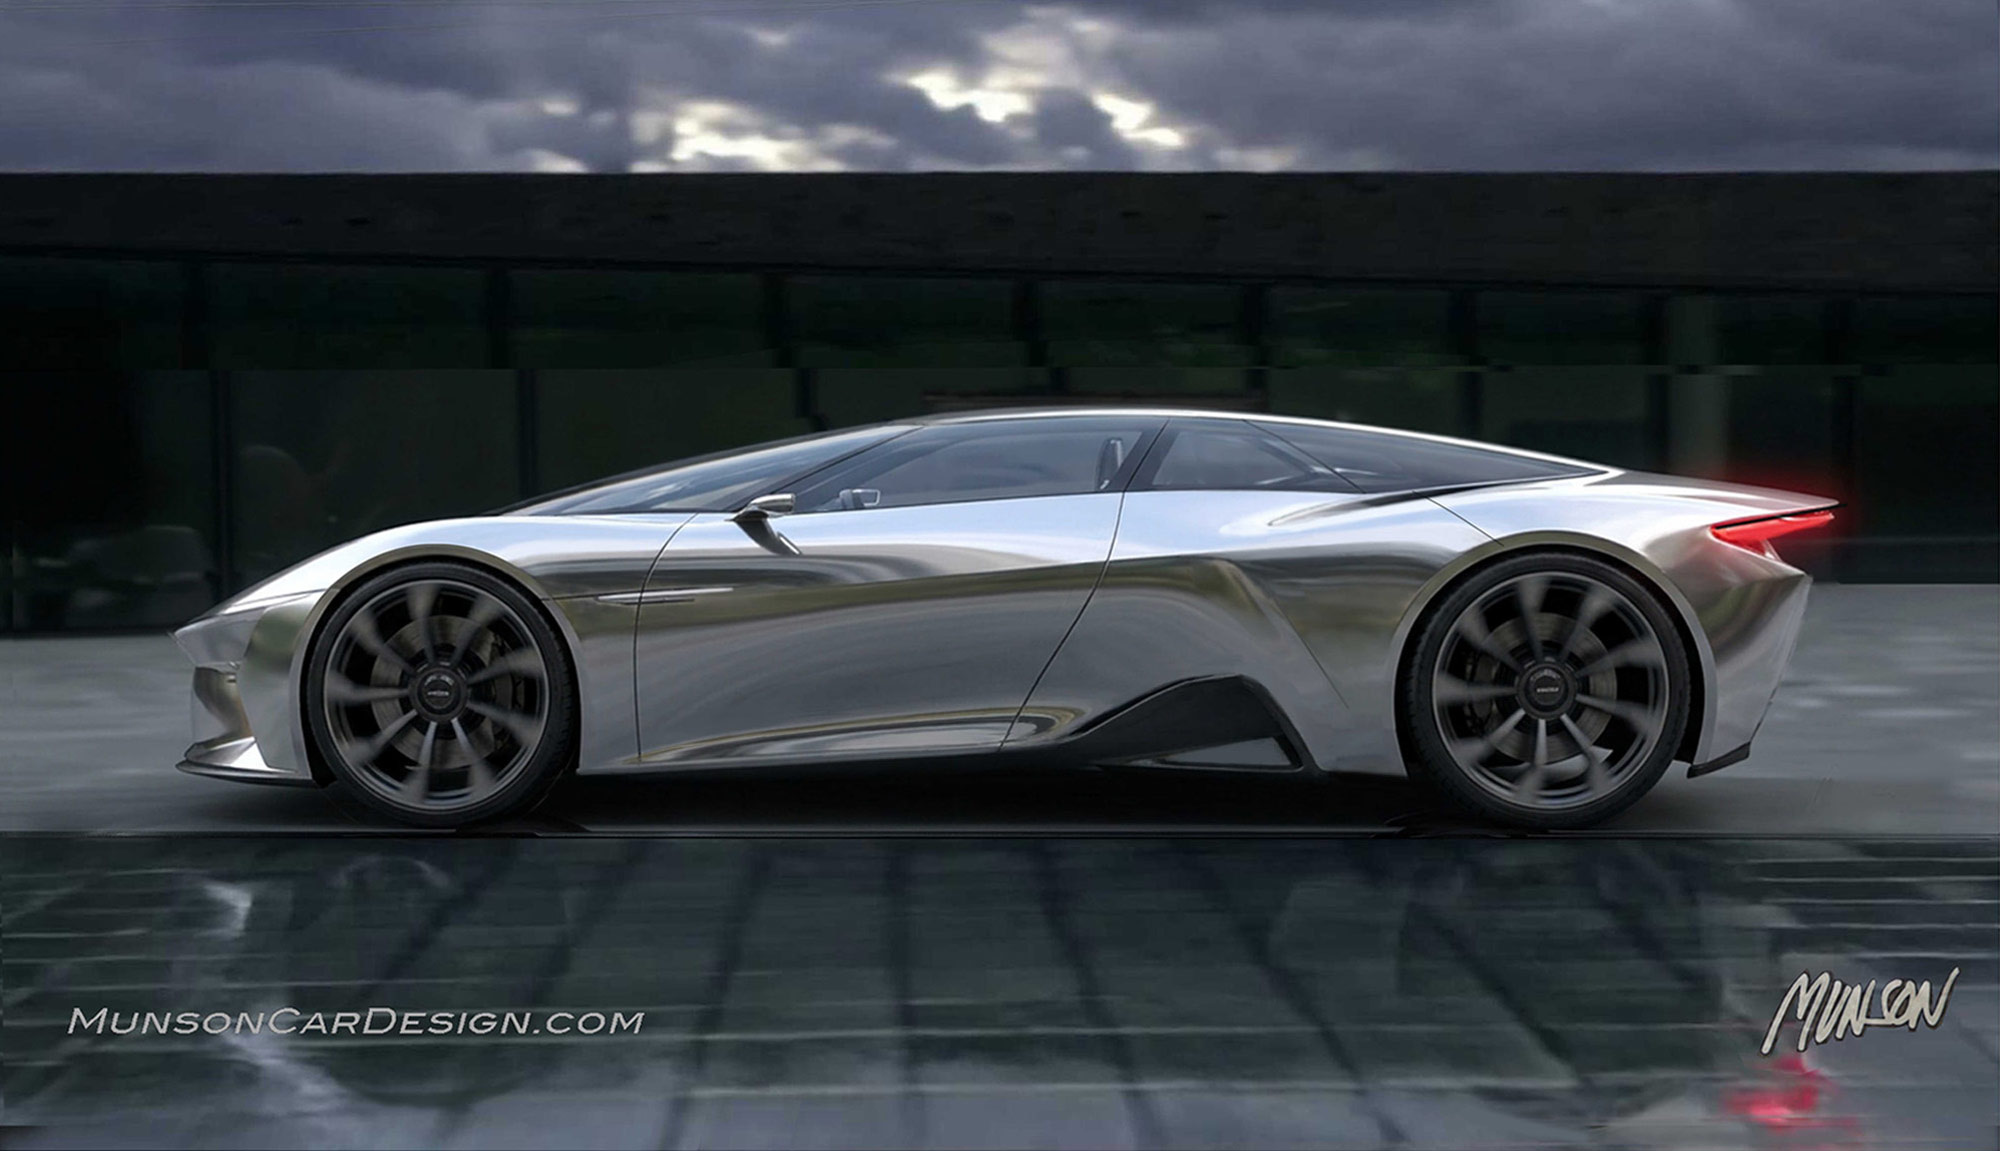
The initial results were impressive. I refined them further in Photoshop Elements, and within about three hours, I had developed a highly polished side view. Vizcom even added the graphics that helped bring the rendering to life. I wish I could take more credit for the final result, but Vizcom is simply amazing! It often seems to understand exactly what I’m trying to achieve.
Next, I used Vizcom’s Animate feature to maneuver the car into different positions and generate additional views. I captured the ones I liked using Shift + Command + 5, then brought them back into Photoshop Elements for further refinement.
In Vizcom Workbench, I experimented with different combinations of opening and closing images to generate new videos. After about 20 attempts, I finally landed on two that I felt strongly about. I exported both in high-resolution 4K.
I then combined the two clips using Adobe Express at new.express.adobe.com and uploaded the finished video to YouTube.
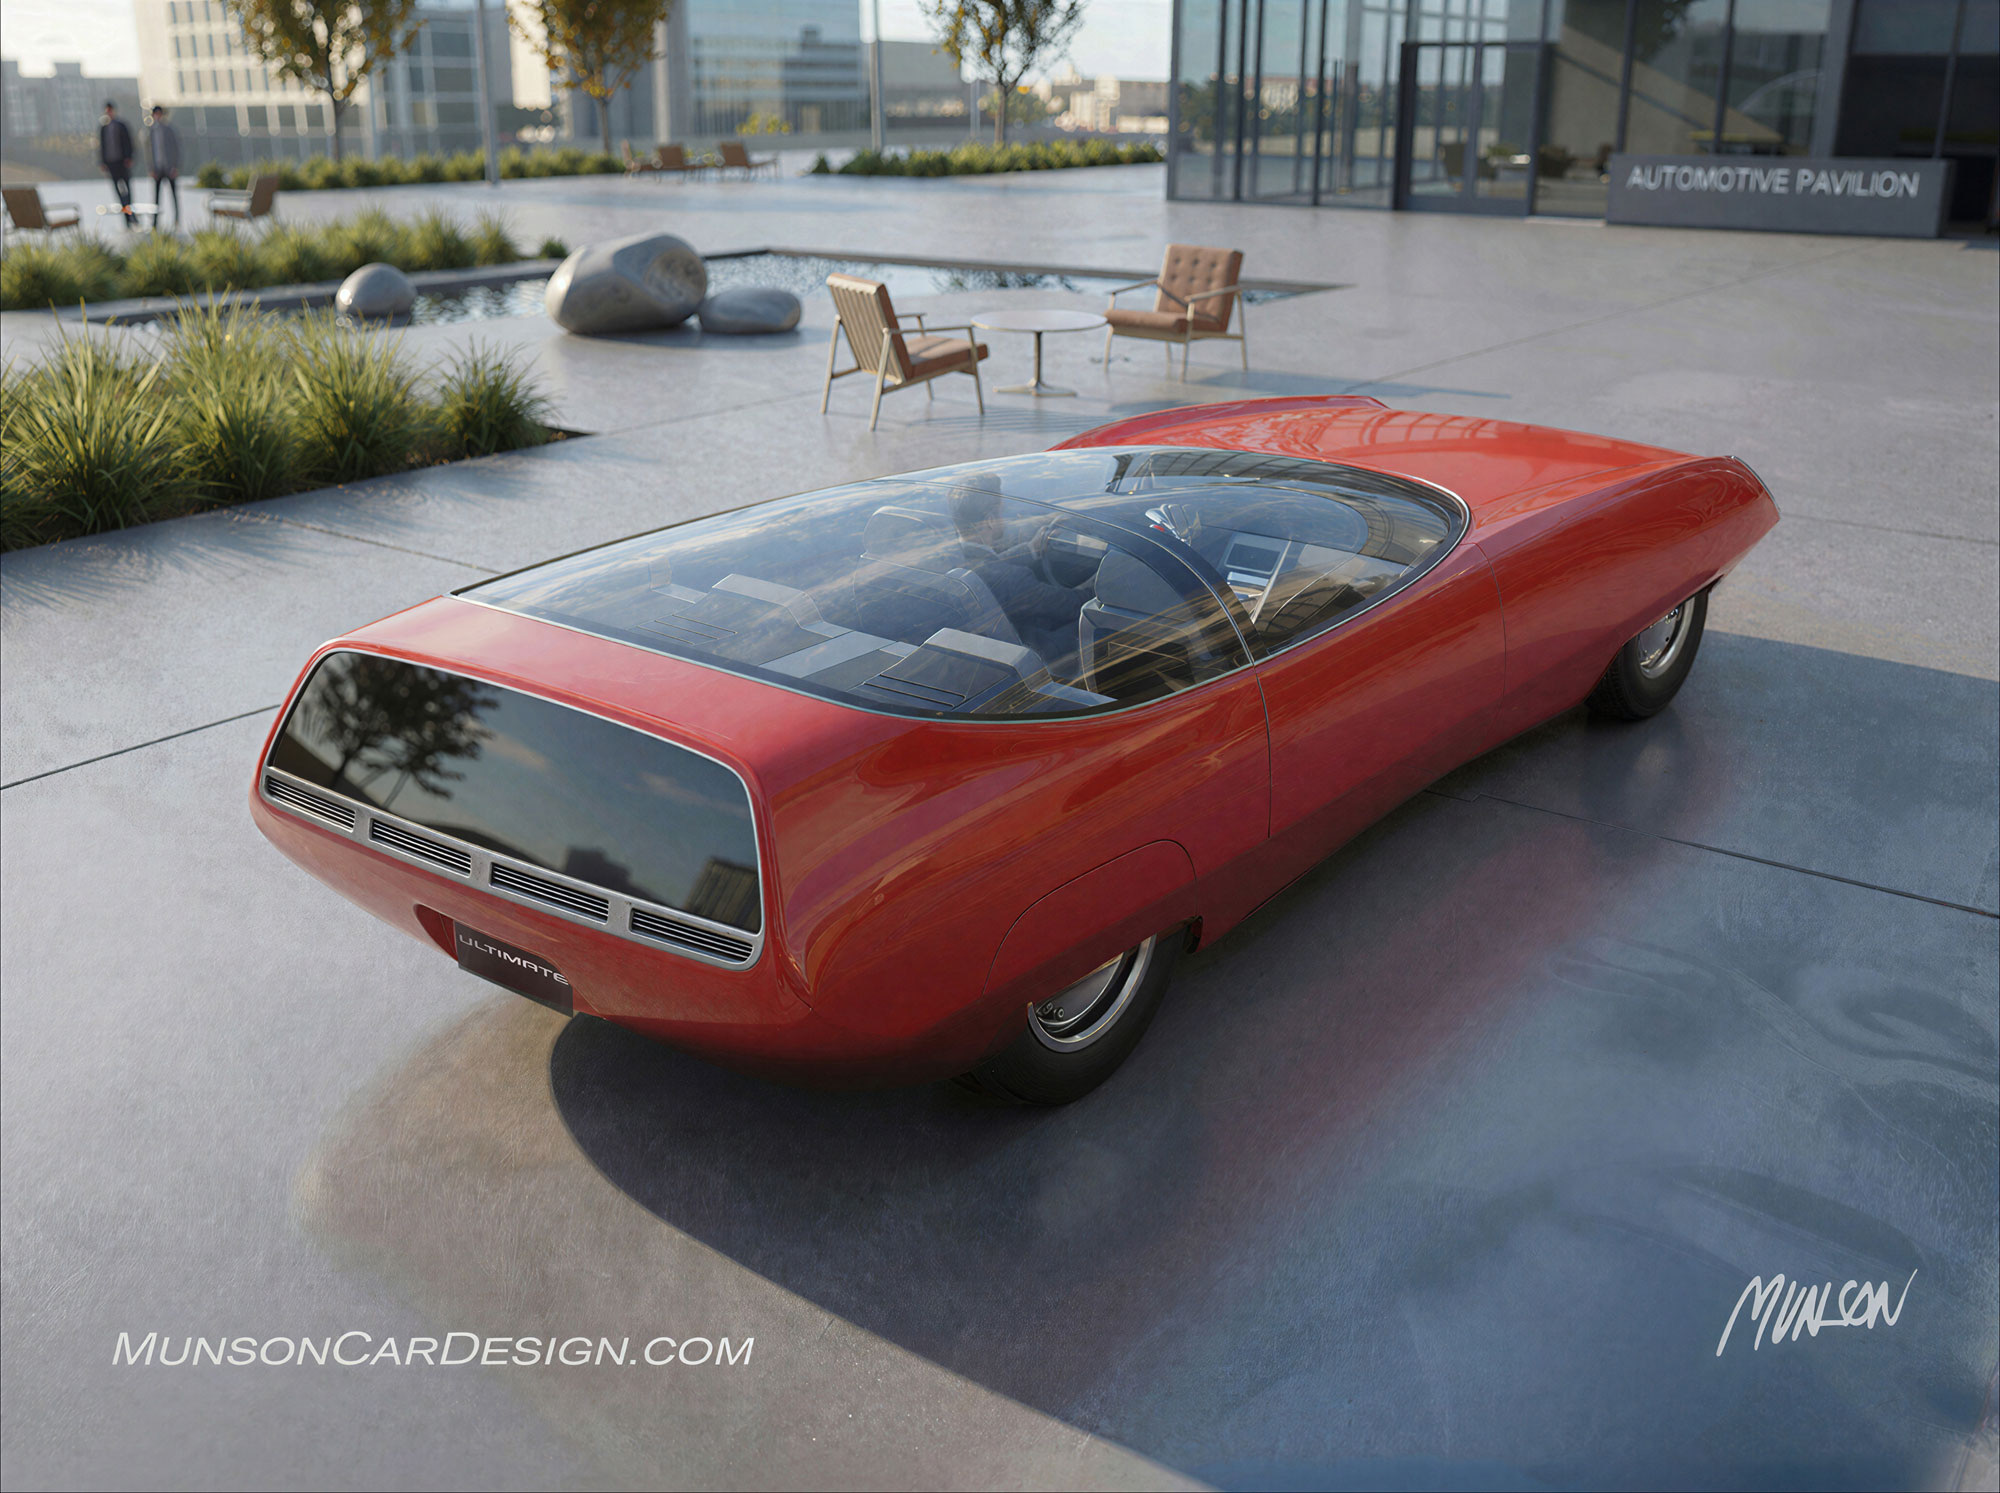
For the final sketch, I decided to bring the car back down to Earth. I simply instructed Vizcom to place the car from my featured image into a photograph of Apple’s headquarters in Cupertino, California. A few more hours of work in Photoshop Elements resulted in the final image shown below.
The last video was generated on the first try with Runway ML. I couldn’t get a satisfactory result with Vizcom Animate even after 16 tries! I guess I’ll keep my Runway subscription a little longer.
From tiny pencil sketches to an orbiting flying car and, finally, a visit to Apple headquarters, this project was a wonderfully fun exercise in pushing design ideas beyond the ordinary. This post shows how traditional sketching, digital refinement, and AI-powered tools can come together to turn an outrageous idea into something surprisingly convincing.